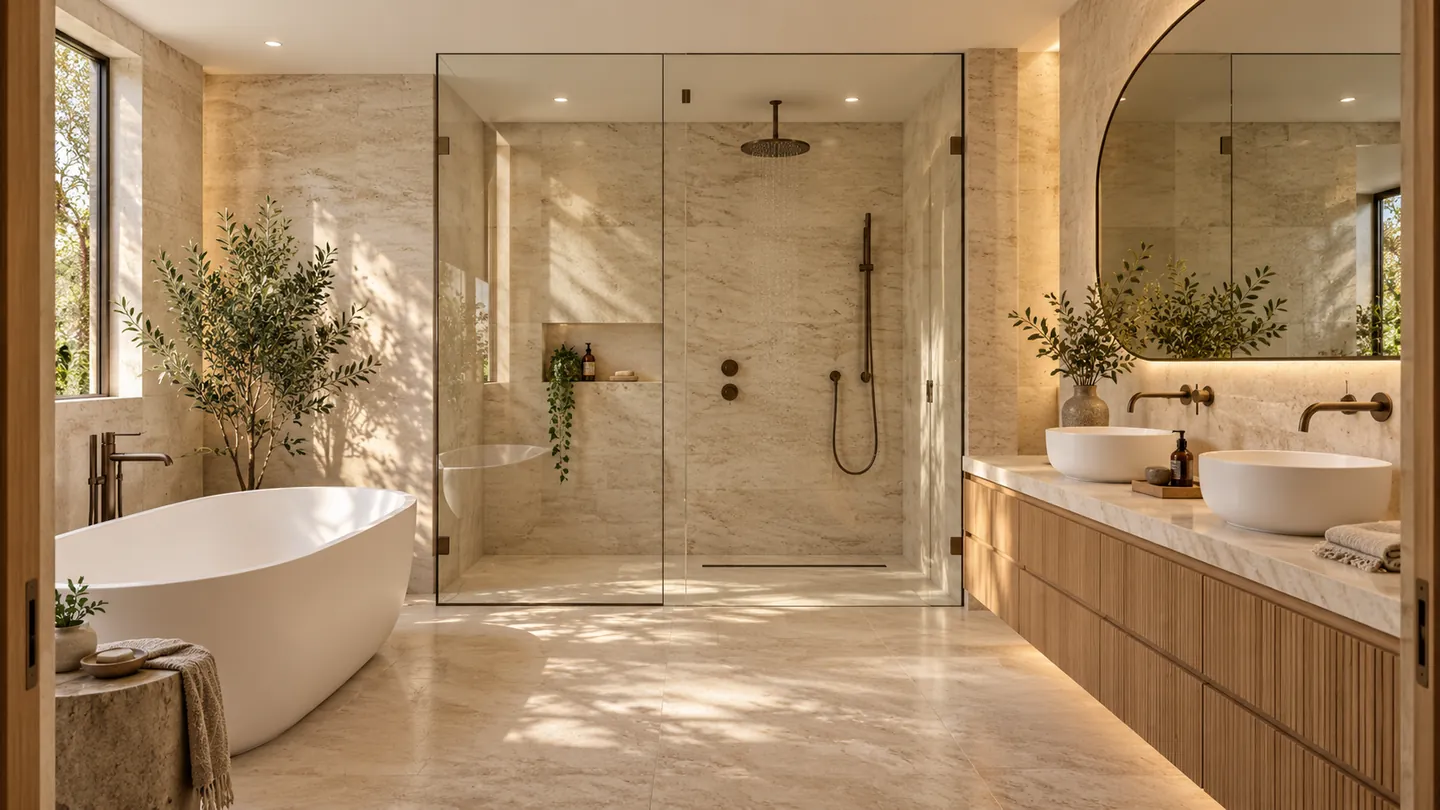
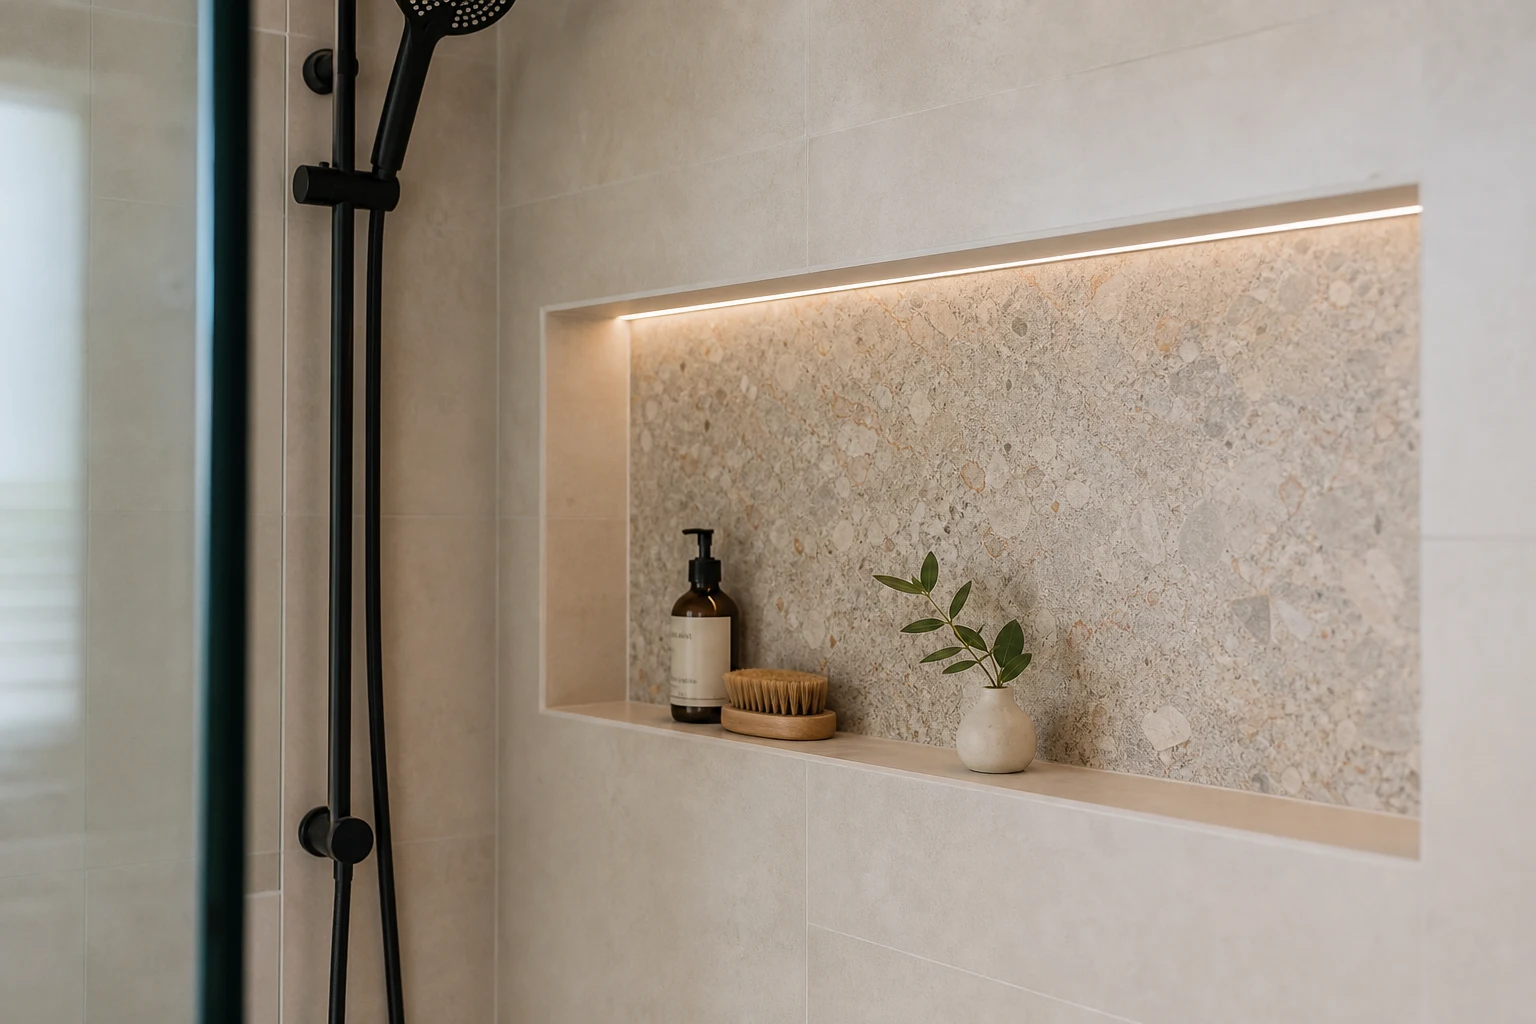
The shower niche is a small detail with an outsized effect on how a bathroom functions and how it photographs. Done well, it removes the wire caddy hanging off the shower rail, gives every bottle a home and adds a crafted moment to the tiling. Done badly, it leaks, collects water on a flat shelf, sits at the wrong height for the household or lands in a wall that was never suitable for a recess in the first place.
Because a niche is built into the framing and sealed into the waterproofing system, every decision about it must be made before the walls close up. This guide covers the sizes that actually work, where to position a niche and where never to, the waterproofing details Victorian builders are held to, realistic costs and the alternatives worth considering when a recessed niche is not practical.
In this guide
Standard Sizes and What They Hold
Niche sizing starts with what the household actually stores in the shower, then works backward to stud spacing. Standard wall framing places studs at 450mm or 600mm centres, so niches built between existing studs are cheapest, while wider niches need a framed opening with a lintel-style header.
| Niche Size (W x H) | What It Holds | Framing Impact | Best For |
|---|---|---|---|
| 300mm x 300mm | Two or three standard bottles | Fits between studs; minimal work | Ensuites and single-user showers |
| 300mm x 600mm (vertical) | Two shelf levels, four to six bottles | Fits between studs with a mid shelf | Couples sharing one shower |
| 600mm x 300mm (horizontal) | A full family line-up in one row | Needs a framed opening across studs | Family bathrooms |
| 900mm+ full-width band | Feature niche spanning the shower wall | Significant framing and lintel work | Design-led renovations with the budget to match |
Depth is dictated by the wall. A standard 90mm stud wall yields roughly 80-90mm of usable depth after lining, which suits most bottles. Walls containing plumbing, or external walls with insulation, are poor niche candidates without furring the wall out.
Height and Placement Rules That Actually Matter
Placement failures are the most common niche regret, and they are entirely avoidable with a few working rules.
- Standing reach: Set the niche base between 900mm and 1200mm off the floor for comfortable access without bending. For two-tier niches, the upper shelf suits taller users and the lower shelf suits children.
- Out of the spray line: Position the niche on the wall adjacent to the shower head rather than directly opposite or under it. Constant direct spray keeps products waterlogged and drives water at the niche seals for no benefit.
- Sightline discipline: A niche visible from the doorway becomes a design feature and must be tiled beautifully; a niche on the return wall hides clutter. Decide which job it is doing before setting out.
- Bath niches: Where a niche serves a bath, a base height around 300mm above the bath rim keeps products reachable while soaking.
Align niche edges with grout lines wherever possible. Tilers can centre the niche on a tile module when the setout is planned early, which is the difference between a niche that looks engineered and one that looks cut in as an afterthought.
Waterproofing: Where Niches Go Wrong
A niche punctures the most water-attacked wall in the house, so the waterproofing detail is everything. Victorian bathroom work is held to AS 3740, and a niche inside a shower is part of the shower waterproofing zone with no exceptions.
- Full membrane continuity: The membrane must wrap into the niche and cover the back, sides, head and sill as a continuous system with bond breakers at the internal corners.
- Fall on the sill: The niche base must slope slightly toward the shower, commonly around 5 degrees, so water drains out instead of pooling against the back seal.
- Pre-formed niche units: Moulded polymer inserts that are bedded, sealed and tiled over remove much of the corner-detailing risk and are standard practice on quality builds.
- Photo evidence: Photograph the membraned niche before tiling. It costs nothing and settles any future question about the detail hidden behind the tiles.
A leaking niche does not usually announce itself quickly. It wicks into framing over months, which is why shortcuts here are so expensive and why niche work belongs with licensed, insured trades rather than weekend improvisation.
Costs: What a Niche Adds to the Job
A niche costs more than its size suggests because it touches carpentry, waterproofing and tiling, and it slows the tiler down with mitred or trimmed edges.
- Single standard niche (300mm x 600mm): Commonly adds $350-$800 to a renovation, covering framing, a pre-formed unit or built detail, membrane work and the additional tiling labour.
- Wide framed niche: Commonly $700-$1,500 depending on structural work and tile detailing.
- Feature upgrades: Contrast tile linings, stone-slab sills, recessed strip lighting and shelf glass add material and labour on top.
Mitred tile edges give the cleanest look but demand precise cutting on porcelain; metal trim angles are cheaper and more forgiving but visually harder. Decide the edge treatment when selecting tiles, because some finishes mitre poorly and chip at the arris.
Alternatives When a Recessed Niche Does Not Work
Some walls should not take a niche: external walls, party walls in units and townhouses, walls stacked with plumbing, and solid brick walls where chasing a recess is disproportionate work. Good alternatives exist.
- Recessed shampoo shelf in a furred wall: Building the wall out 50-90mm creates niche depth anywhere, at the cost of floor space.
- Corner shelves: Stone or porcelain corner shelves siliconed into the tile joints during tiling; cheap, unobtrusive and easily added.
- Shower seats with storage ledges: Where a bench is planned anyway, the ledge does double duty.
- Quality rail caddies: Modern rail-mounted storage in a finish matching the tapware is a legitimate choice in rentals and budget-focused projects.
The wrong answer is forcing a niche into an external wall by removing insulation, or recessing into a party wall in breach of fire and acoustic separation. Both create problems far larger than a storage shelf solves.
Design Details That Lift the Result
A handful of decisions separate an ordinary recess from a signature detail.
- Tile continuity: Running the wall tile straight through the niche reads calm and premium; contrast linings work only when they echo another material in the room, such as the vanity stone.
- One strong niche beats three weak ones: Multiple small niches fragment the tiling and multiply waterproofing penetrations. A single well-placed niche almost always looks better.
- Lighting: A warm LED strip under the niche head, on the same circuit as ambient lighting, turns the niche into the evening feature of the room. It must be IP-rated for the zone and wired at rough-in.
- Shelf materials: A 10mm stone or porcelain mid-shelf looks better and cleans easier than glass in most schemes.
These are small-money decisions with large visual returns, but every one of them must be locked before waterproofing day. The niche is the clearest example in bathroom building of a detail that is cheap to plan and painful to change.
Getting the Sequence Right
The niche decision chain runs: storage needs, then wall selection, then size and height, then framing, then waterproofing detail, then tile setout. Each step constrains the next, which is why the conversation belongs in the design meeting rather than on site with a tiler already booked.
On our Melbourne projects the niche is drawn on the joinery and tiling elevations with dimensions, so the carpenter, waterproofer and tiler are all building the same detail. That single drawing prevents the classic failure where the niche lands half over a stud, off the grout module and at a height nobody chose. If your current quote does not document the niche, ask for it in writing before contract signing.
Take these ideas with you.
- Set the niche base at 900mm-1200mm off the floor and keep it out of the direct spray line
- A standard niche adds roughly $350-$800; wide framed niches run $700-$1,500 or more
- The waterproofing membrane must wrap the niche continuously with a sloped sill, per AS 3740 wet-area requirements
- Avoid niches in external walls, party walls and plumbing-stacked walls; furred walls and corner shelves are better answers
- Align the niche with the tile module and document it on drawings before waterproofing day
A few more answers
Questions about your next step.
What matters most in a small bathroom layout?
Clearances, door swing, shower placement and vanity depth matter more than decorative choices. Simplify the layout before adding premium finishes.
Which bathroom materials are easiest to maintain?
Low-porosity surfaces, practical grout, well-detailed shower screens and real ventilation reduce cleaning load and mould risk.
How long does a full bathroom renovation normally take?
Bathrooms are tightly sequenced, but waterproofing cure times, tiling and fixture lead times still make them multi-stage projects.
Put your ideas into a plan
Turn this cost guide into a real number
A useful quote names layout, services, finish level and exclusions. We measure in the house, then price the room you actually have.
Want your niche planned, framed and waterproofed as one documented detail instead of a site-day improvisation? Talk to our bathroom renovation team or call 1300 173 622.