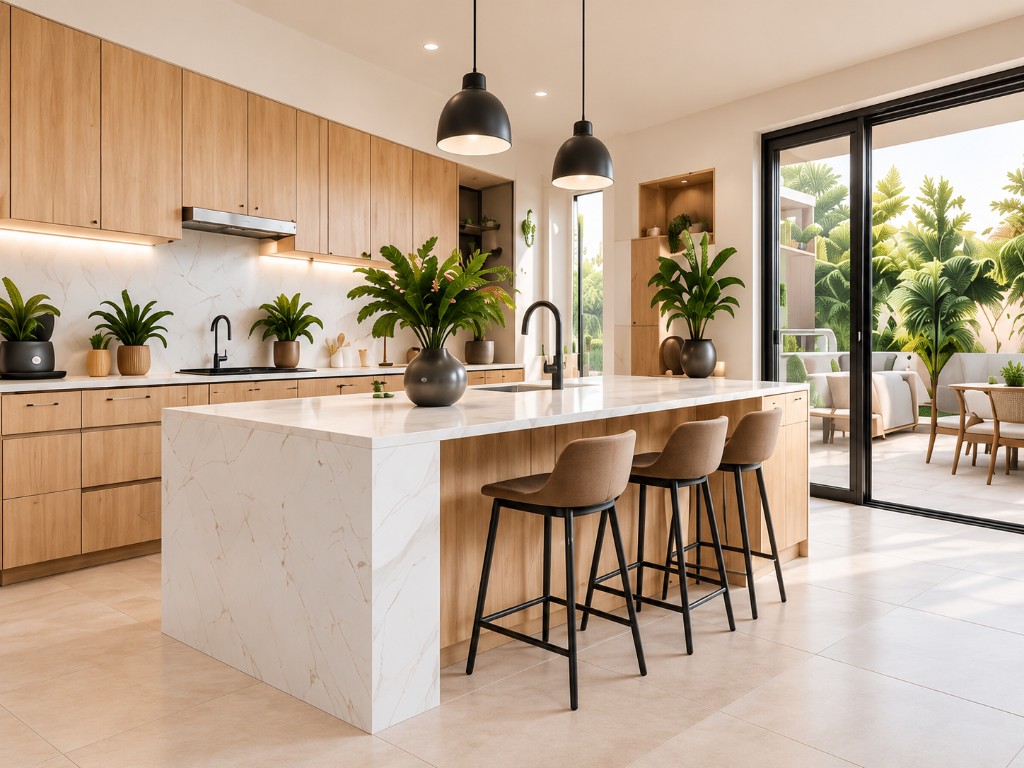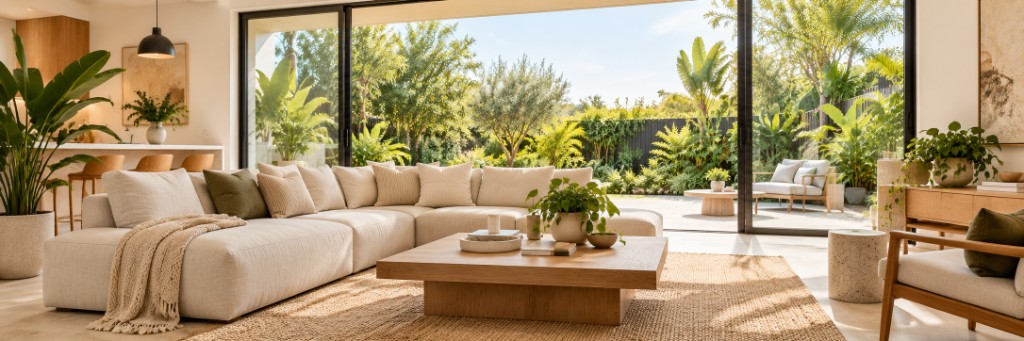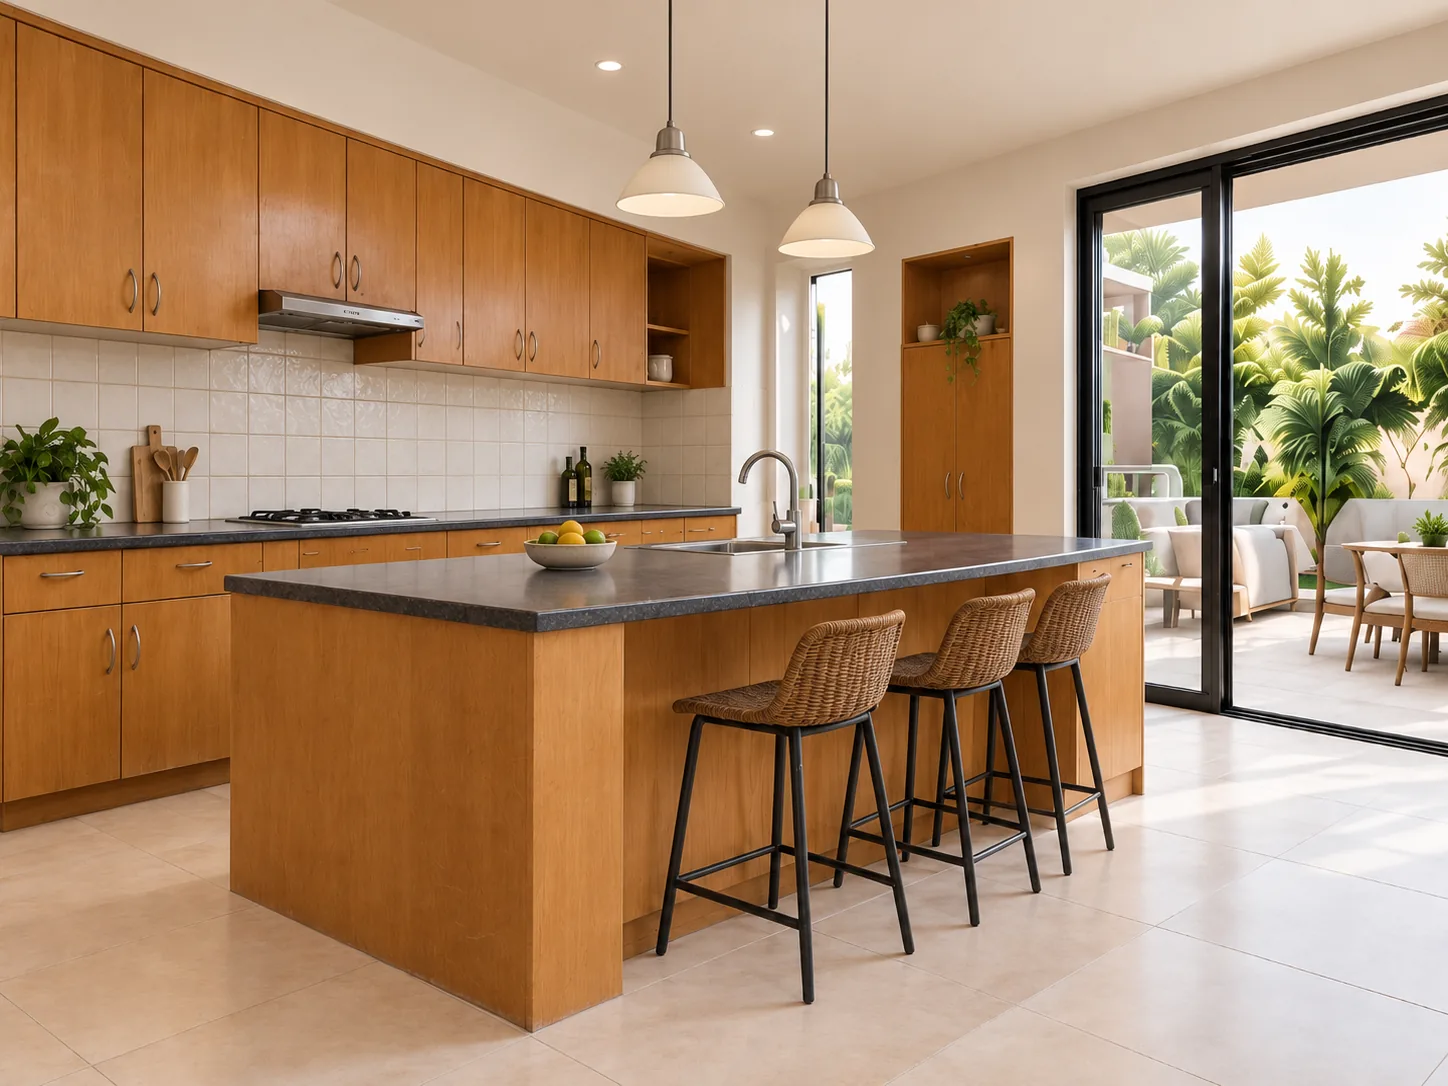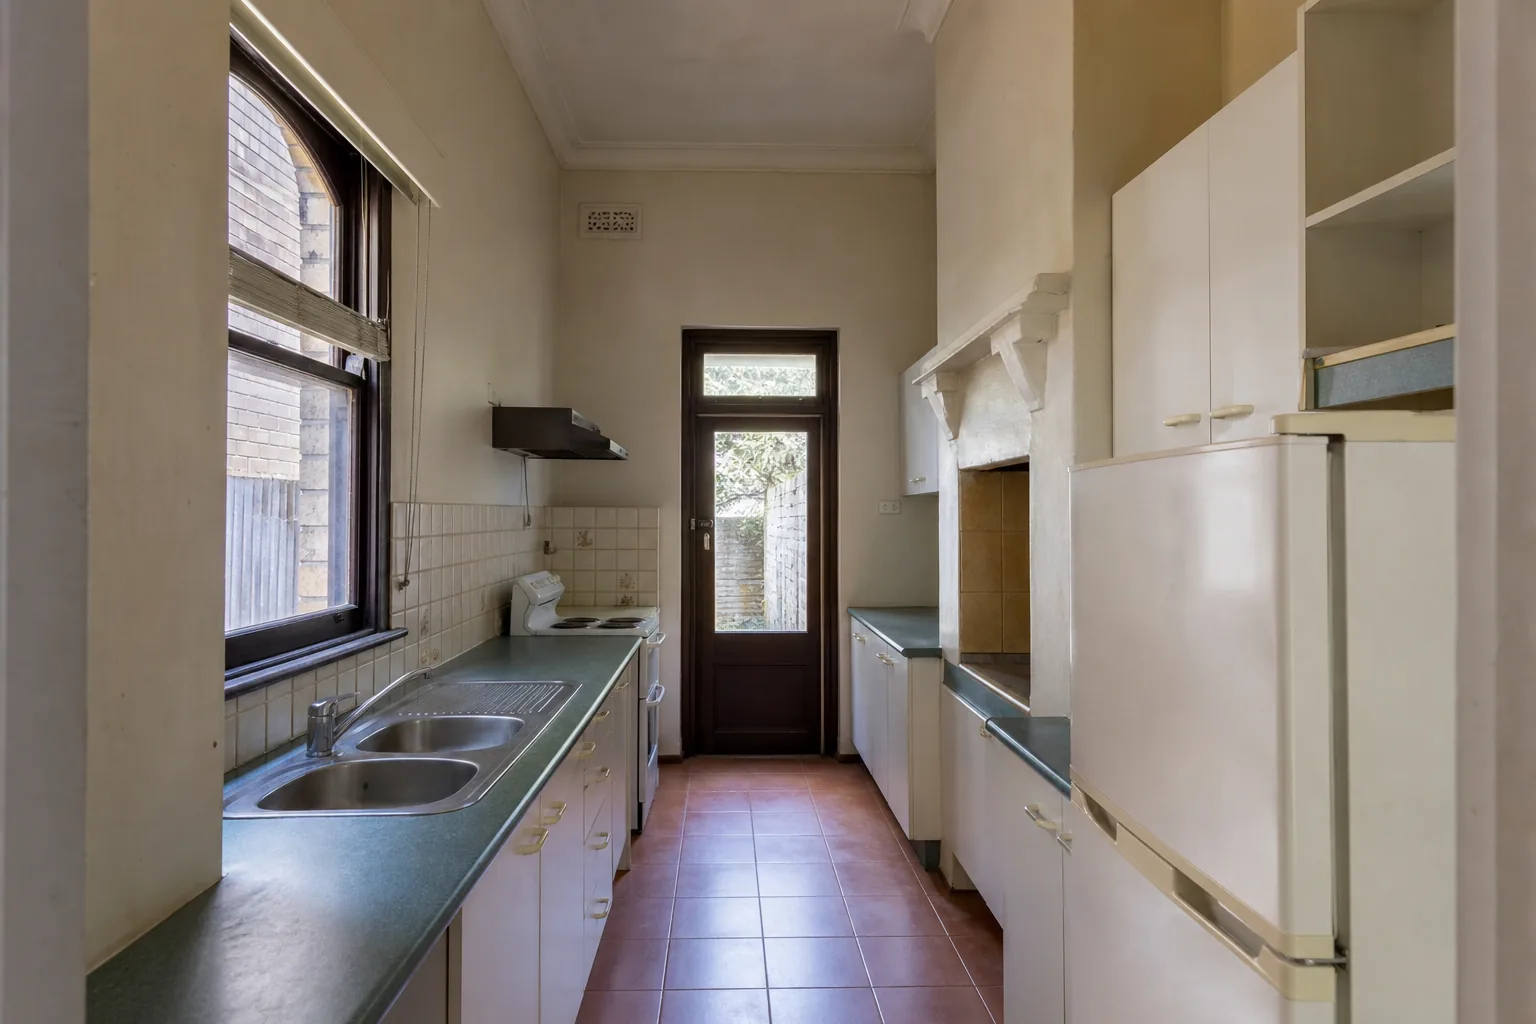
The splashback occupies a small area of a kitchen and an outsized share of its personality. It is also one of the most technically constrained surfaces in the room: it must survive heat behind the cooktop, water behind the sink, and comply with clearance requirements around gas burners, all while carrying much of the visual identity of the design.
This guide covers the practical side that inspiration galleries skip: the standard heights and where to break them, the clearance rules that determine what material can legally sit behind your cooktop, an honest comparison of the main materials, and where splashback installation sits in the renovation sequence so it does not hold up your project.
In this guide
- Standard Splashback Heights and When to Break Them
- Cooktop Clearances: The Rules That Choose Your Material
- Material Comparison: Tile, Glass, Stone, Porcelain and Panels
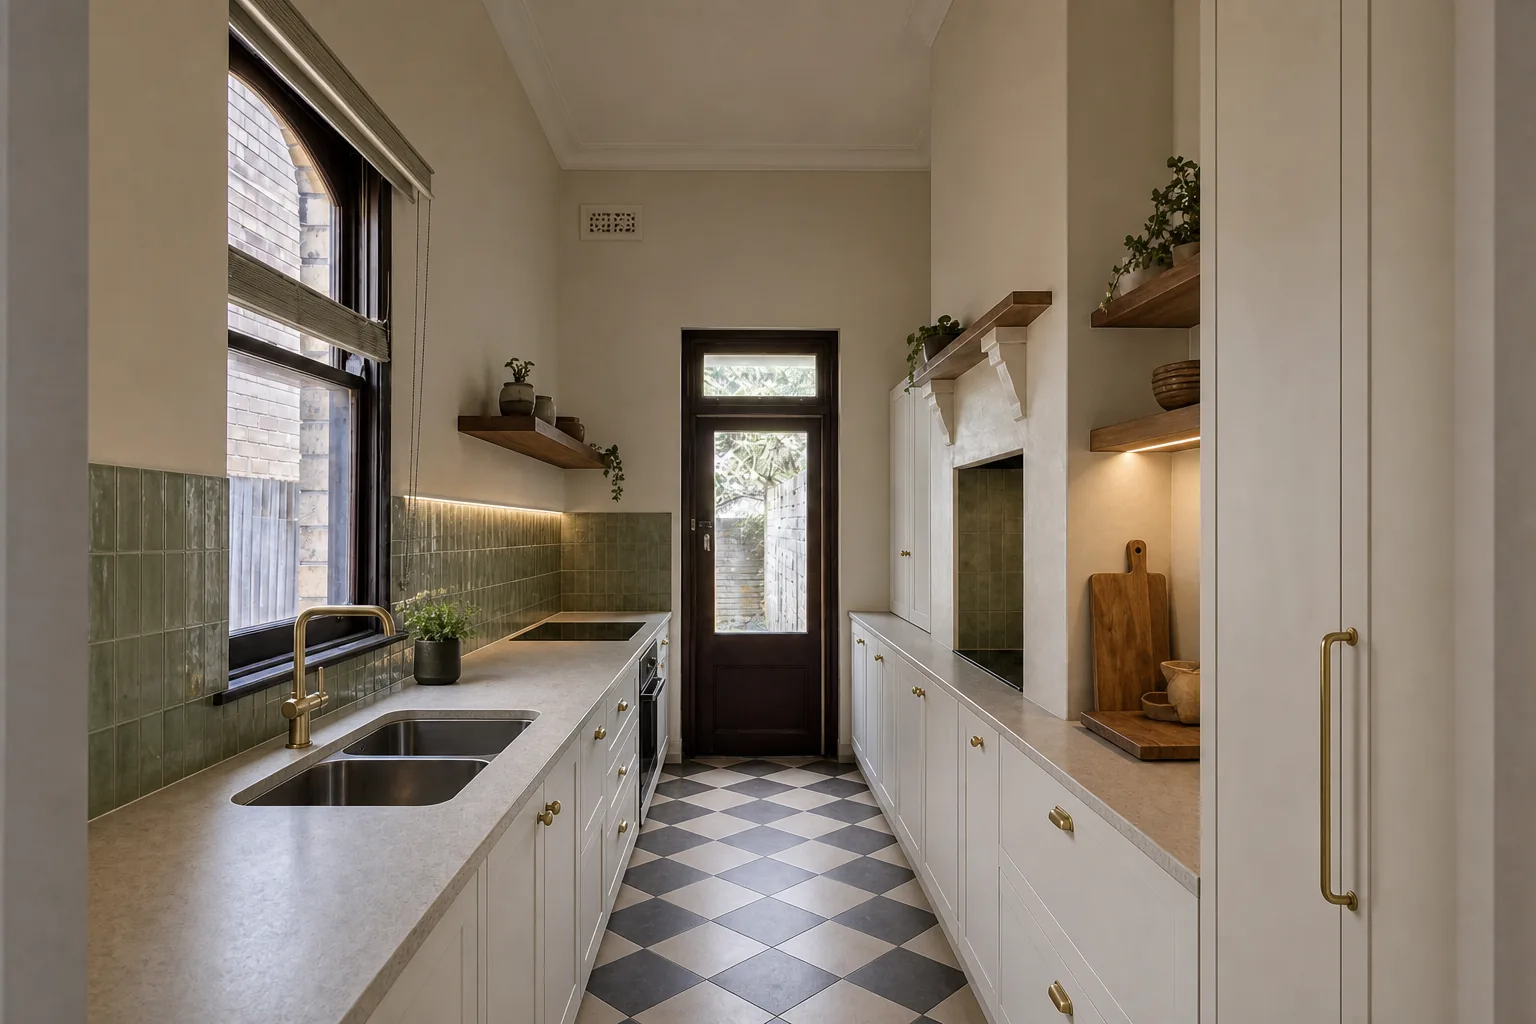
- Tile Splashbacks: Formats and Details That Work
- Glass, Stone and Slab Splashbacks: The Seamless Options
- Where Splashbacks Sit in the Renovation Sequence
- Choosing Well: A Simple Decision Path
Standard Splashback Heights and When to Break Them
Splashback height is set by what sits above the bench, and the standard numbers exist for good reasons.
- Standard 600mm: The classic gap between a 900mm bench and the underside of overhead cabinets. Most tiled and glass splashbacks are built to this dimension.
- Under-window splashbacks: Where the bench runs below a window, the splashback rises only to the sill, commonly 150-300mm. A stone upstand or tile band works neatly here.
- Full-height feature walls: Where there are no overheads, running the splashback material from bench to ceiling, or to a shelf line, turns the wall into the feature of the room. Budget accordingly: the area can triple.
- Behind rangehoods: The splashback should continue up behind a wall-mounted rangehood to the underside of the canopy, typically 750mm above a gas cooktop and often 650mm above electric or induction, matching the clearance the rangehood itself requires.
One detail worth insisting on: set the splashback height off the finished benchtop level, confirmed after cabinetry is levelled, not off a plan dimension. In older Melbourne homes the difference is real.
Cooktop Clearances: The Rules That Choose Your Material
Behind and beside a cooktop, splashback selection stops being aesthetic and becomes a compliance matter, particularly with gas.
- Gas cooktops: Australian gas installation rules require substantial clearance from burners to combustible surfaces. In practice, the wall area within 200mm of the nearest burner must be a suitably non-combustible material, and any rangehood or overhead above must meet the vertical clearance in the appliance manual, commonly 600-750mm.
- Toughened glass: Glass splashbacks behind gas must be Grade A toughened safety glass rated for the application. Standard annealed glass or acrylic is not acceptable behind burners.
- Acrylic and laminate panels: Budget-friendly and fine behind sinks and preparation benches, but generally not compliant directly behind gas cooktops and often restricted behind electric ones. Check the manufacturer documentation, not the showroom pitch.
- Induction changes the game: Induction cooktops generate far less radiant wall heat, relaxing material constraints. This is one more quiet reason induction is taking over Melbourne renovations.
Your appliance installation manual is the binding document: installers in Victoria will certify against it, and a non-compliant splashback can hold up plumbing certification of a gas appliance.
Material Comparison: Tile, Glass, Stone, Porcelain and Panels
| Material | Typical Installed Cost | Strengths | Watch-Outs |
|---|---|---|---|
| Ceramic or porcelain tile | $60-$180 per m2 laid, plus tiles | Unlimited looks, heat-proof, repairable, suits any budget | Grout maintenance; laid last so lead times rarely bite |
| Toughened glass | $400-$700 per m2 | Seamless, easy to wipe, any painted colour, reflects light | Measure-and-make cycle of 1-2 weeks after benchtops; colour locked forever |
| Engineered-look porcelain slab | $500-$900 per m2 | Continues the benchtop look up the wall, minimal joins, heat and UV stable | Specialist fabrication; edges and cut-outs need experienced installers |
| Natural stone slab | $600-$1,200+ per m2 | Depth and veining no printed product matches | Sealing required; acids etch marble; premium cost |
| Acrylic or laminate panel | $150-$350 per m2 | Cheap, fast, DIY-friendly for laundries and rentals | Generally not compliant behind gas; scratches; reads budget up close |
Ranges reflect common Melbourne pricing and vary with area, access and detail. Small splashback areas carry high fixed costs, so the per-square-metre rate on a 3m2 job is always worse than on a 10m2 feature wall.
Tile Splashbacks: Formats and Details That Work
Tile remains the most popular splashback choice in Melbourne renovations because it separates cost from character: a modest tile laid well beats an expensive tile laid badly.
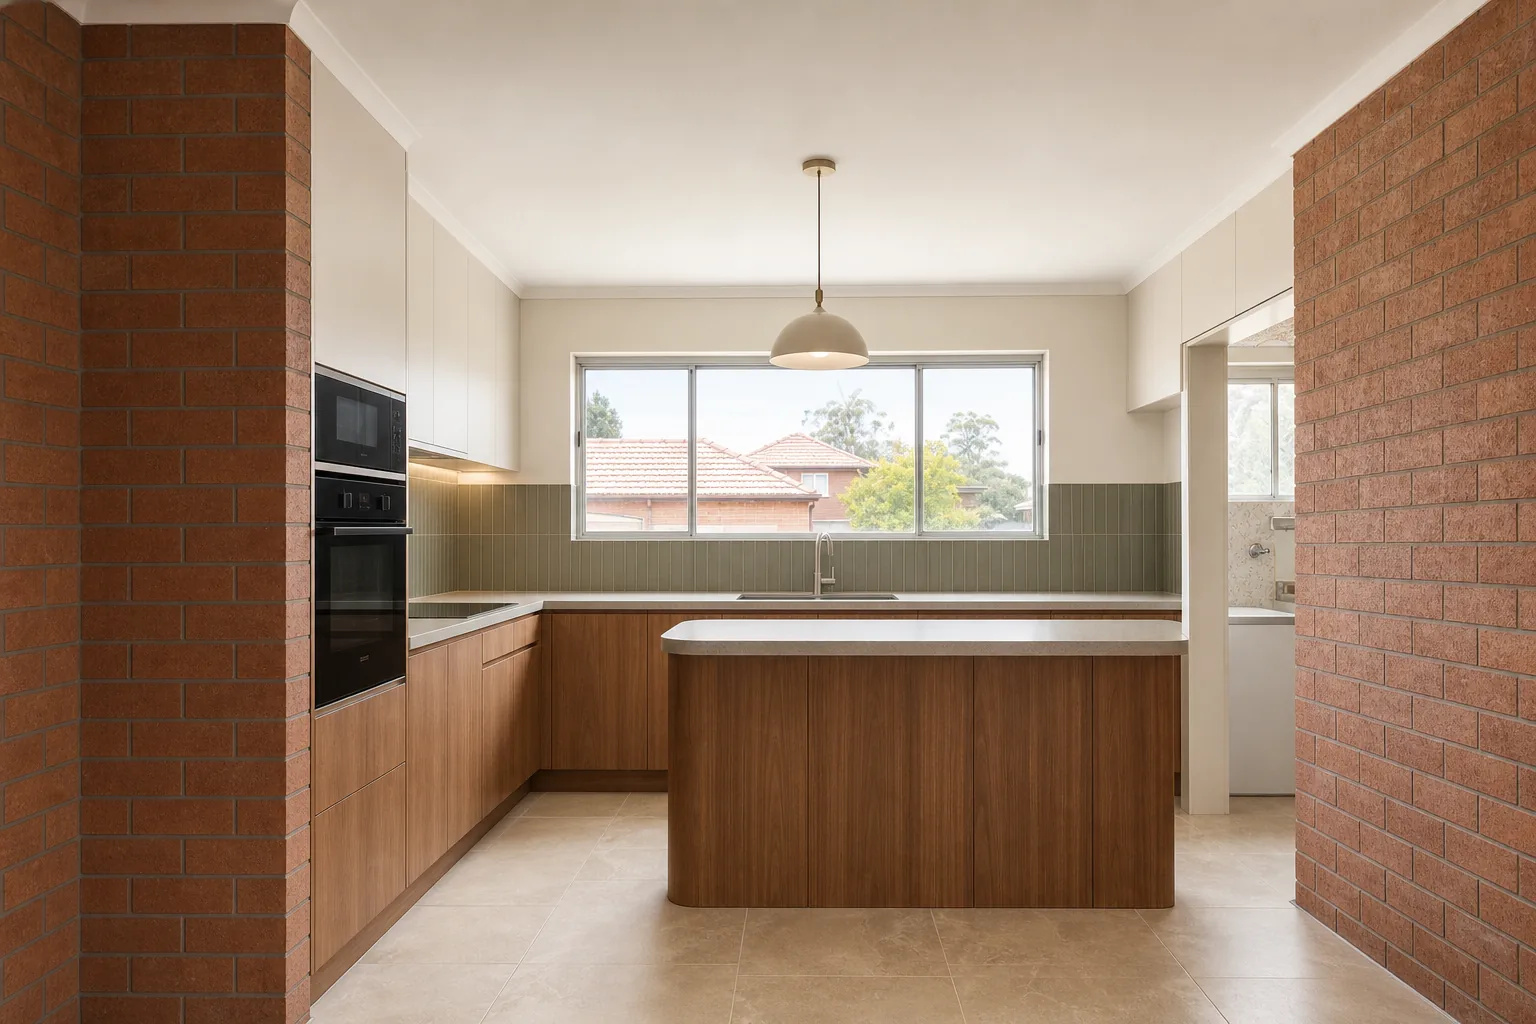
- Subway and variations: The 68x280 or 75x300 subway in a gloss white or handmade-look finish remains the safest resale choice. Vertical stacking or a herringbone pattern modernises it without risk.
- Finger and kit-kat tiles: Strong texture for feature areas; be aware the grout share rises and so does cleaning effort behind cooktops.
- Large-format porcelain: 600x600 and larger minimises grout lines for a near-slab look at tile prices, but demands flat walls and a very good tiler.
- Grout selection matters: Choose a quality grout in a colour slightly darker than instinct suggests, and consider epoxy grout behind cooktops for stain resistance. White cement grout behind a gas wok burner will not stay white.
- Edge trims and junctions: Specify how exposed tile edges terminate: metal trims, mitres or bullnose. This tiny detail separates crisp work from obviously cheap work.
Glass, Stone and Slab Splashbacks: The Seamless Options
Seamless surfaces trade the texture of tile for cleanability and visual calm, and each has its own workflow.
- Toughened glass: Measured only after benchtops and cabinetry are complete, then cut, toughened and painted to order. Choose the colour against your actual benchtop in daylight; back-painted colour reads differently on glass than on a swatch. Low-iron glass is worth it for whites, as standard glass adds a green cast.
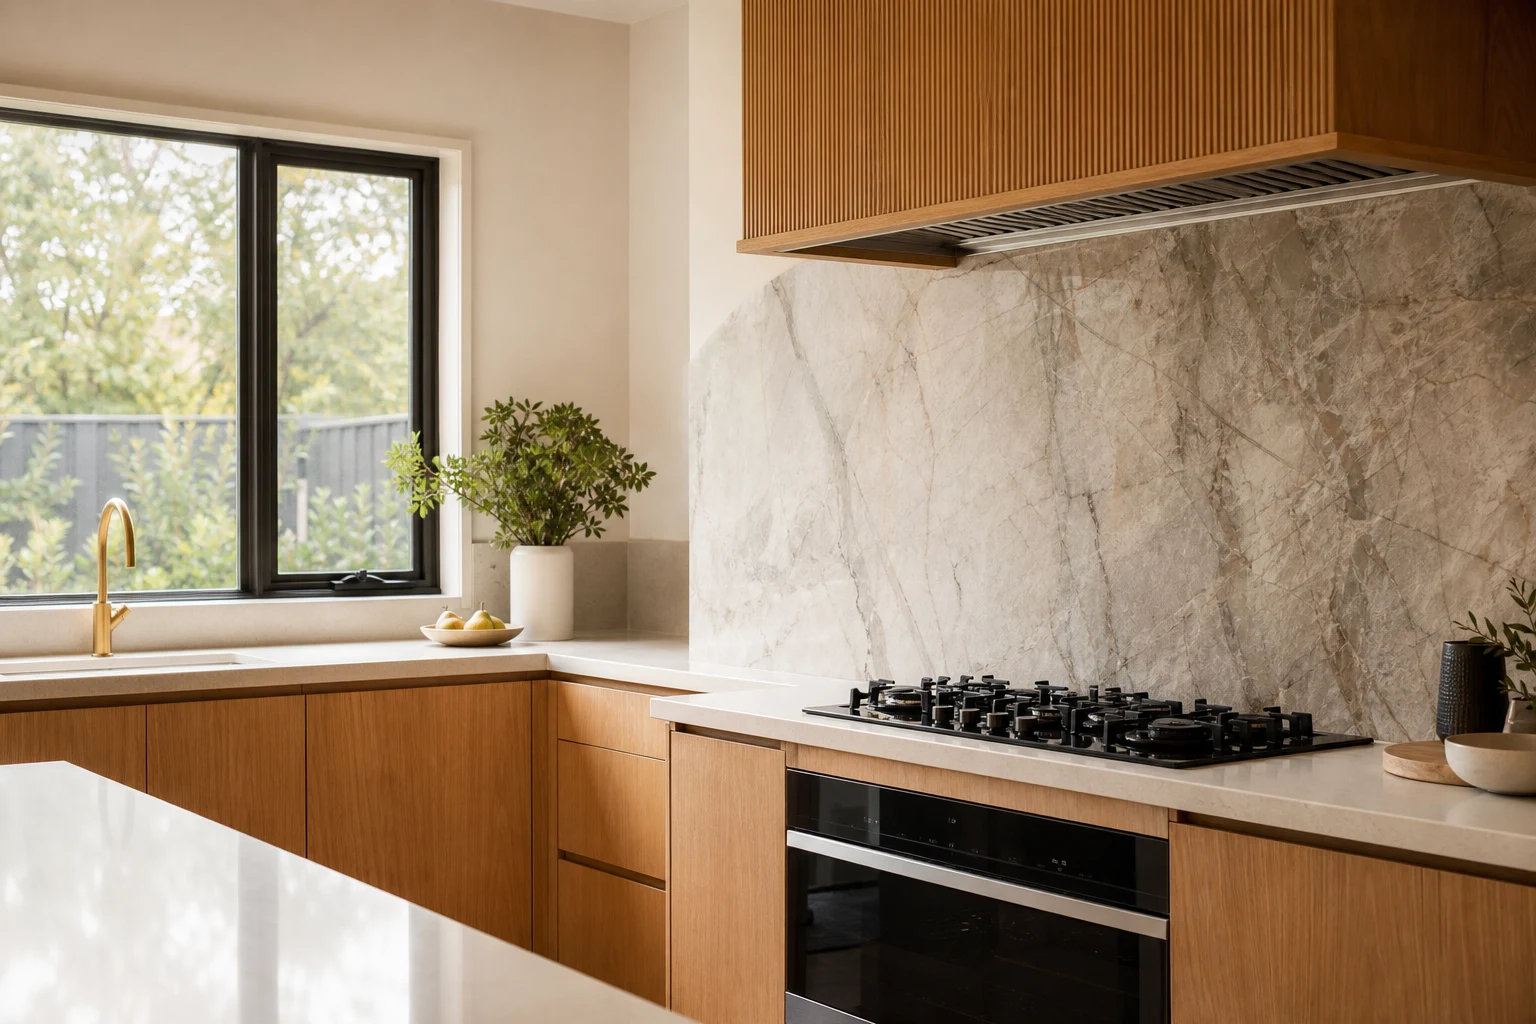
- Benchtop-matching slab: Running the benchtop material up the wall creates the most integrated look in current kitchen design. Porcelain suits this especially well behind cooktops given its heat stability.
- Natural stone: Beautiful and genuinely unique, but treat marble behind a cooktop with realism: oil splatter and acidic splashes will mark honed marble, and that patina is part of the deal.
- Window splashbacks: A glazed splashback window borrowing garden light behind the sink or cooktop is a signature move in Melbourne extensions. It needs early coordination: the window is a build-stage item, not a finishes-stage item, and toughened glass and clearances still apply near gas.
Where Splashbacks Sit in the Renovation Sequence
Splashback timing trips up owner-managed projects constantly. The wall finish cannot happen until benchtops are on, and benchtops cannot happen until cabinets are fixed.
- Typical order: Cabinetry installed, benchtops templated and installed, then splashback tiled or templated, then plumbing and electrical fit-off completes around it.
- Tile: Can usually start within a day or two of benchtop install. Allow one to three days including grout for a standard kitchen.
- Glass and slab: Template after benchtop install, then wait out fabrication of one to two weeks. Order early: the decision must be locked before the site is ready for it.
- Power points and switches: Their positions must be finalised before any slab or glass is made, because cut-outs are factory-made. Moving a power point after a glass splashback is fabricated means a new panel.
A good builder sequences fit-off so the kitchen is usable even while a glass splashback is in fabrication, then returns for final fit. Ask how that gap will be handled before signing.
Choosing Well: A Simple Decision Path
Strip the decision back to four questions and the answer usually reveals itself.
- What fuel is behind it? Gas narrows the field immediately: compliant tile, toughened glass, porcelain or stone. Induction opens it up.
- Who cleans it, and how often is it used hard? Daily family cooking favours seamless surfaces or epoxy-grouted porcelain; occasional cooks can indulge texture-heavy finger tiles.
- Is the splashback the feature or the backdrop? With two-tone cabinetry or a bold benchtop, choose a quiet splashback. In a calm kitchen, the splashback can carry the drama.
- What does the budget line actually allow? If the number is tight, a well-laid handmade-look subway with considered grout delivers more per dollar than a compromised slab.
Whatever you select, view a large sample against your benchtop and cabinetry in the actual room. Melbourne winter light is cool and grey; showroom halogens are not.
Take these ideas with you.
- Standard splashback height is 600mm bench to overheads, but always set off the finished benchtop level, not the plan
- Gas cooktops impose real material and clearance rules: compliant tile, toughened glass, porcelain or stone only near burners
- Tile separates cost from character; glass and slab buy seamless cleaning at a fabrication lead-time cost
- Splashbacks install after benchtops, so glass and slab decisions must be locked weeks before the site is ready for them
- Finalise power point positions before any glass or slab splashback is fabricated, because cut-outs cannot be moved later
A few more answers
Questions about your next step.
How much should I budget for a kitchen renovation in Melbourne?
Budget depends on layout changes, cabinetry level, benchtop choice, appliance scope and trade complexity. Fixed-layout refreshes sit much lower than structural redesigns with new services.
What kitchen upgrades usually add the most practical value?
Better drawer storage, smarter appliance placement, durable benchtops, layered task lighting and a well-sized rangehood tend to outperform cosmetic-only upgrades.
How long does a kitchen renovation usually take?
Most kitchens run over several weeks. Cabinetry manufacturing, stone templating and trade sequencing usually matter more than the demolition day.
Put your ideas into a plan
Turn this cost guide into a real number
A useful quote names layout, services, finish level and exclusions. We measure in the house, then price the room you actually have.
Splashback decisions touch compliance, sequencing and three different trades, and we coordinate all of it as part of every kitchen we build. Plan your kitchen renovation with us.