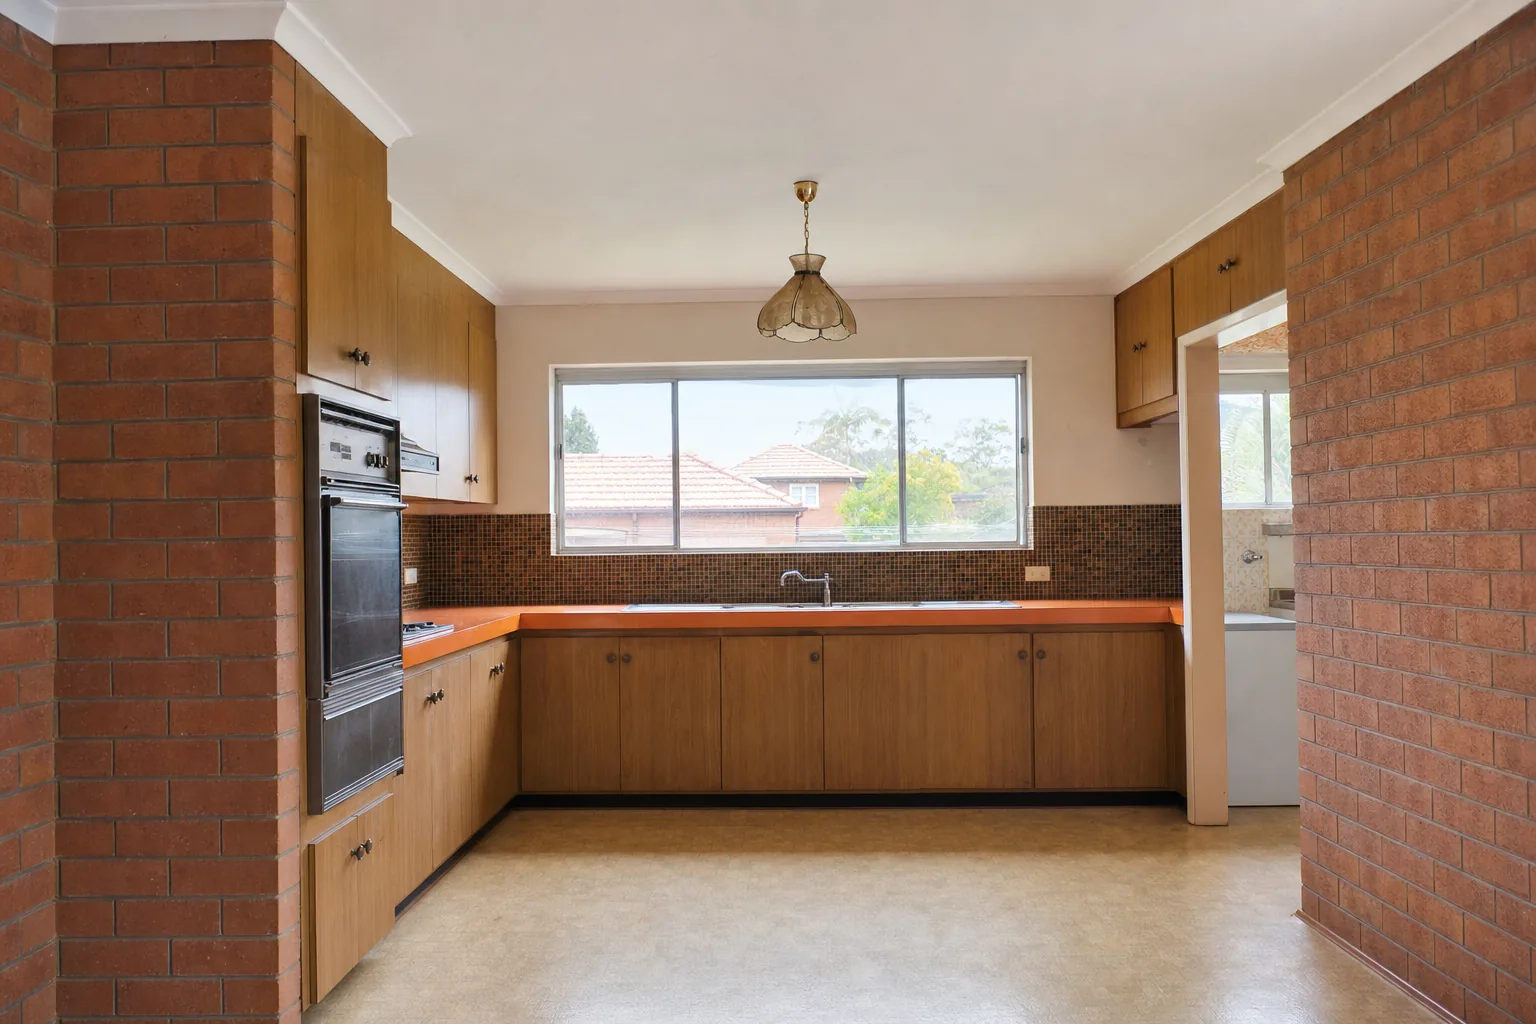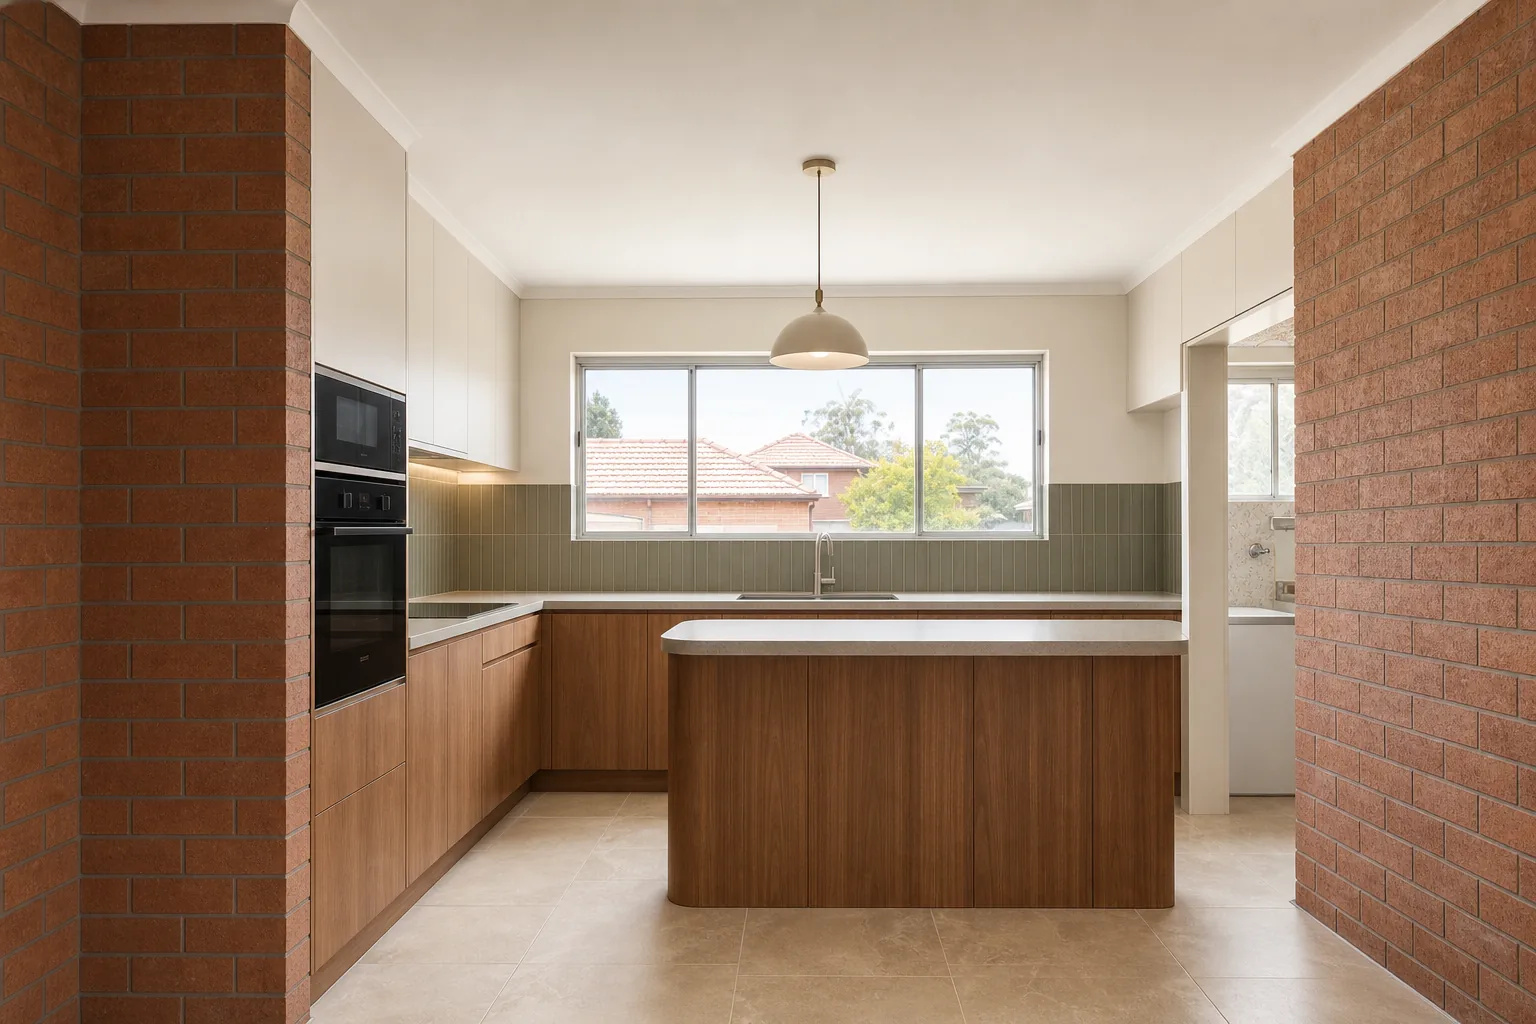
Lighting is the cheapest transformation in a kitchen renovation and the most commonly botched. A grid of downlights punched into the ceiling at even spacing is not a lighting plan; it is a default, and it guarantees you will prepare food in your own shadow while the room feels flat at night. Melbourne homes have a particular stake in this: our winters are long, our light is grey, and open-plan kitchens double as evening living space for half the year.
Good kitchen lighting is built in three layers, each doing a different job, each switched separately. This guide explains how to plan task, ambient and feature lighting properly, what to specify, and when in the renovation sequence each decision must be locked so the electrician can rough in the right cables.
In this guide
- The Three-Layer Principle
- Task Lighting: Under-Cabinet LED Is Non-Negotiable
- Ambient Lighting: Downlights With a Plan, Not a Grid
- Feature Lighting: Pendants, Strips and Restraint
- Colour Temperature: Pick One Story and Stick to It
- Switching, Circuits and Smart Control
- Sequencing: When Each Lighting Decision Must Be Locked
The Three-Layer Principle
Every good kitchen lighting plan answers three separate questions with three separate systems.
- Task lighting: Can I see what I am cutting, cooking and washing? Bright, focused light landing on the work surfaces, with nothing between the light source and the bench, especially not your own head.
- Ambient lighting: Can I move around the room comfortably? Even general illumination, usually from ceiling fittings, filling the space without glare.
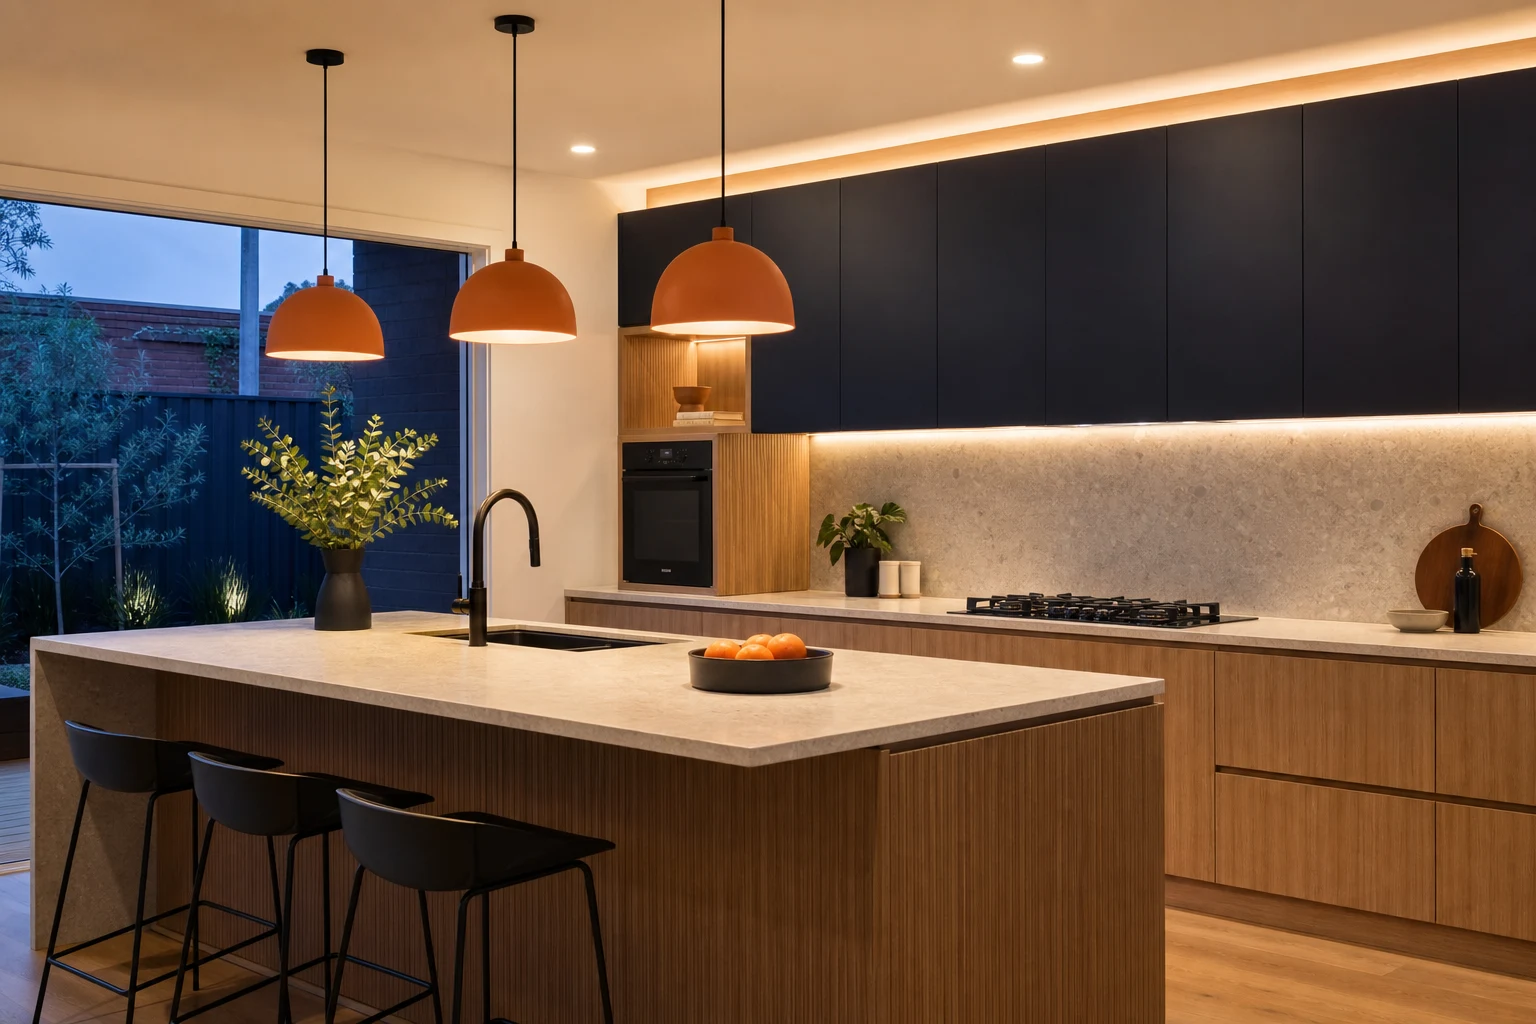
- Feature lighting: Does the room have mood and depth after dark? Pendants, strip details, and accent light that give the eye somewhere to rest and let the kitchen shift from workspace to living space at 8pm.
The layers only work when they switch independently. Full task-plus-ambient for cooking, feature-plus-dimmed-ambient for dinner, a single under-cabinet strip as the midnight-snack light. One switch running everything means the room only has two modes: operating theatre and off.
Task Lighting: Under-Cabinet LED Is Non-Negotiable
Stand at your current bench with the ceiling lights on and look at where your shadow falls. That is why under-cabinet lighting is the highest-value fitting in the entire plan.
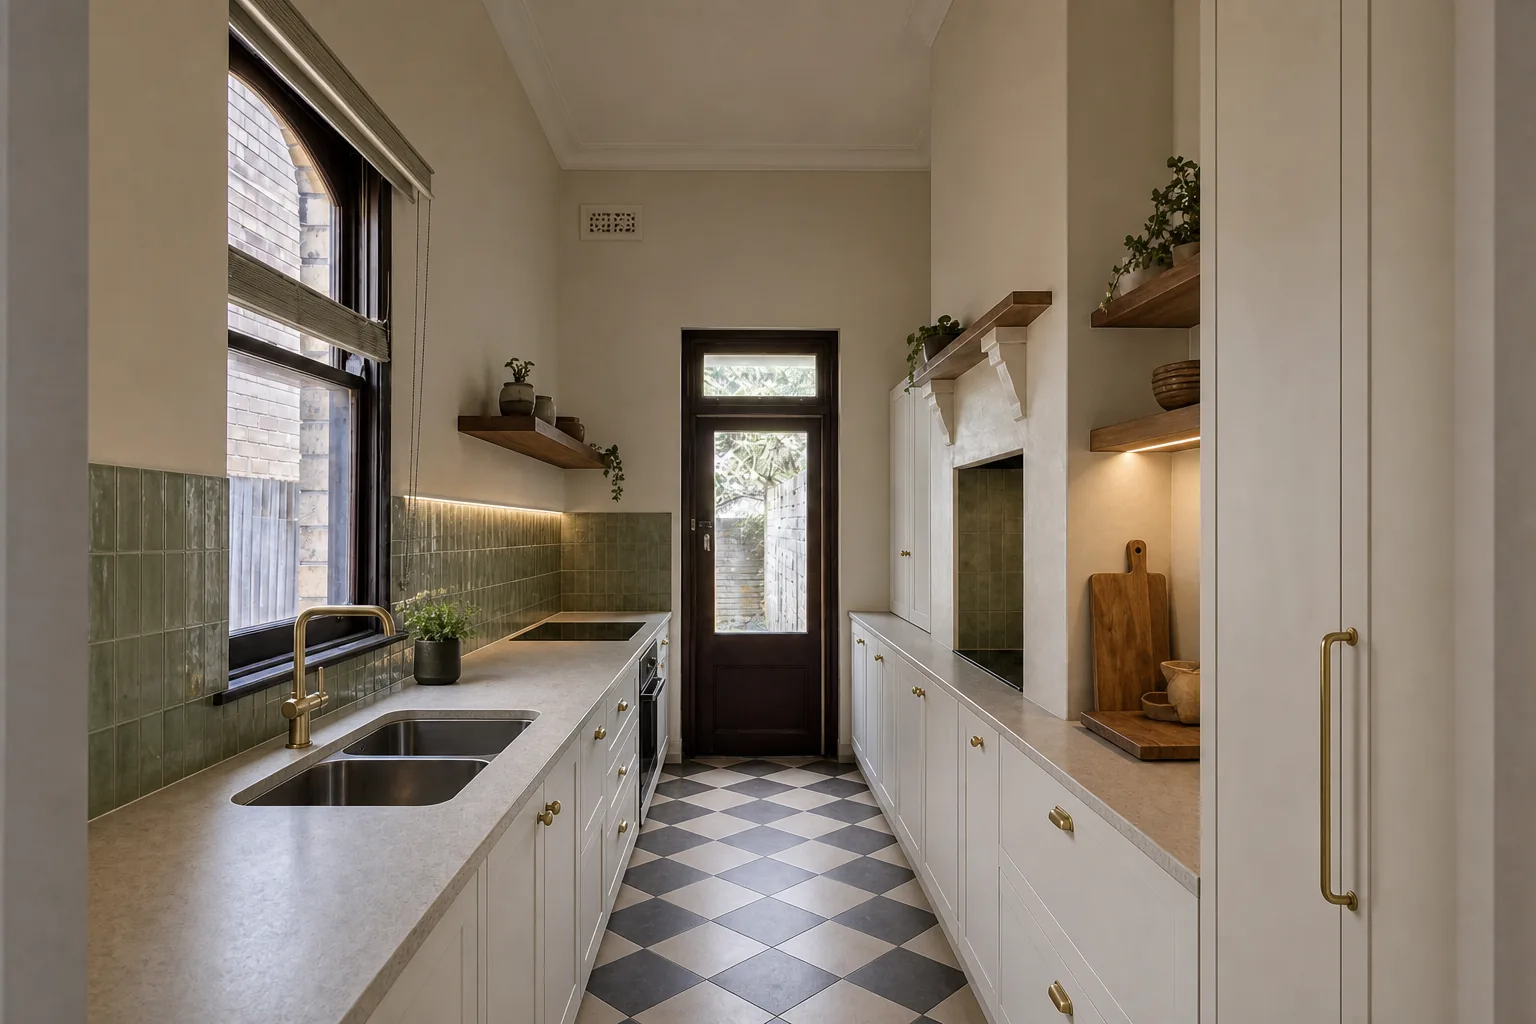
- LED strip under every overhead run: Mounted toward the front edge of the cabinet so light washes the benchtop working zone, not the splashback alone. Choose fittings with diffusers to avoid a dotted reflection in stone and glass surfaces.
- Recess or shadowline mounting: Specify how the strip is concealed at joinery-design stage. A routed channel or an angled front rail hides the hardware; an afterthought strip stuck under the cabinet reads as an afterthought.
- Over the sink: If the sink sits under a window with no overhead cabinet, plan a dedicated downlight or directional fitting centred on the bowl. Washing up in shadow is the most common lighting complaint in finished kitchens.
- Inside drawers and pantries: Sensor-switched strips in a walk-in pantry or deep pot drawers are a modest cost at rough-in and pure quality-of-life afterwards.
Task lighting wants high colour rendering: specify CRI 90 or better so tomatoes look ripe and meat looks cooked. Cheap strip with poor colour rendering makes food look grey, which is the one place a kitchen cannot afford it.
Ambient Lighting: Downlights With a Plan, Not a Grid
Downlights are not the enemy; thoughtless downlight grids are. The goal of the ambient layer is even, comfortable fill that complements the task layer.
- Position relative to benches, not the ceiling grid: Downlights over walkways and open floor, roughly 600mm out from the face of overhead cabinets so light lands in front of you at the bench, not behind your head.
- Spacing: Commonly 1200-1500mm apart for standard ceiling heights, adjusted to the room rather than applied as a formula. Fewer, better-placed fittings beat more fittings every time.
- Beam and glare: Choose fittings with decent baffles or deeper recesses in open-plan rooms, where people on the couch see into the kitchen ceiling from low angles.
- Dimming as standard: Every ambient circuit should dim. In an open-plan Melbourne extension the kitchen ceiling is also the living room ceiling at night, and full-brightness downlights at 9pm flatten the whole space.
- High ceilings: Period homes with 3m+ ceilings may need higher-output fittings or a supplementary layer; the same downlight that works at 2.4m leaves a Victorian-era room gloomy.
Feature Lighting: Pendants, Strips and Restraint
The feature layer gives the kitchen its evening personality, and it is where design intent shows most.
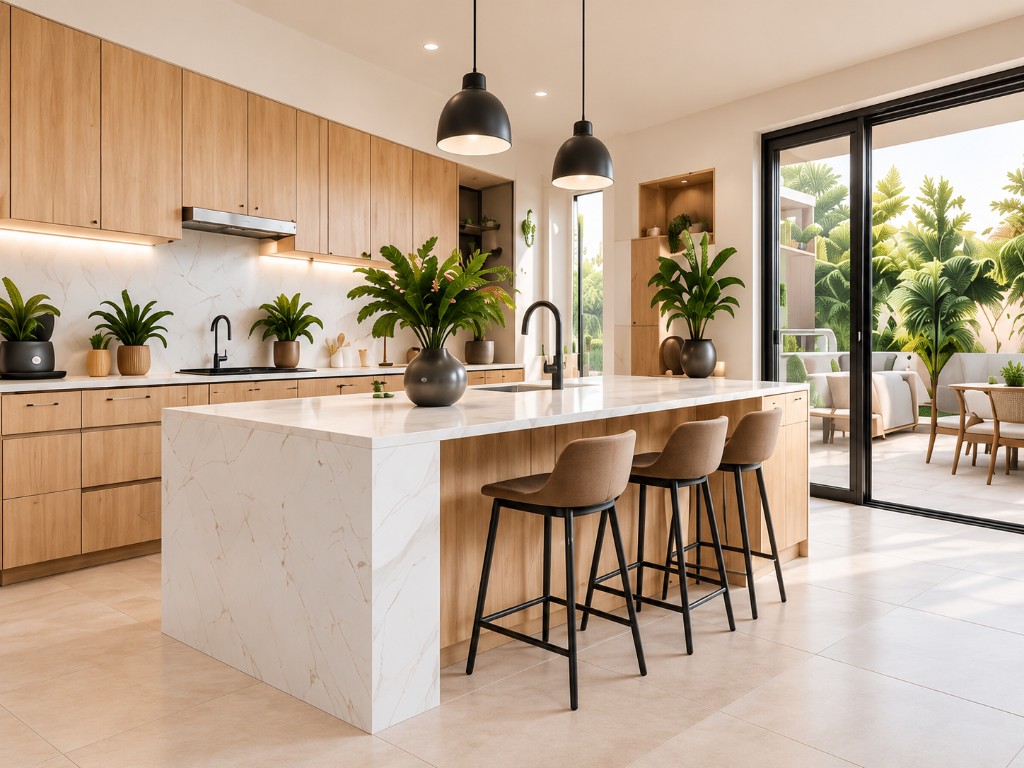
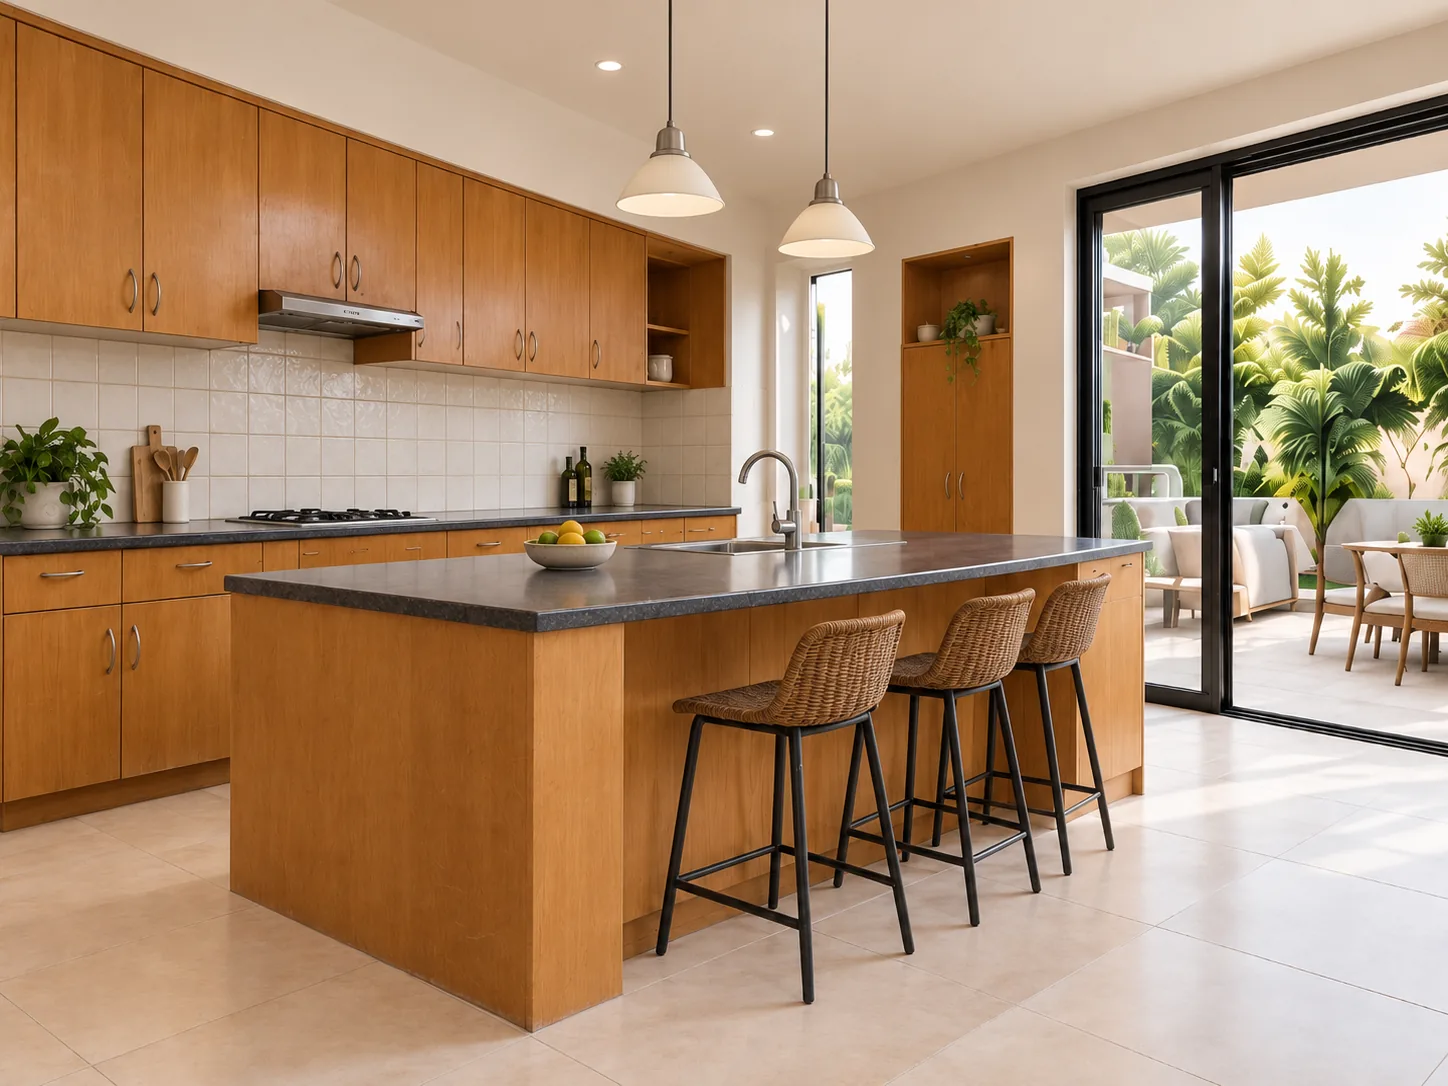
- Pendants over the island: The classic move, still the best one. Hang them so the bottom of the fitting sits roughly 700-900mm above the benchtop: low enough to define the zone, high enough to keep sightlines across the room. Two or three pendants suit most islands; match the number to the island length, not to symmetry for its own sake.
- Choose pendants for their lit effect: An opal glass pendant glows softly; a metal dome throws a pool of light straight down and keeps its own top dark. Both are valid, but they do different jobs. View the fitting lit before buying.
- LED strip details: Above overhead cabinets washing the ceiling, under an island bench overhang, or in open shelving. Pick one or two locations. Strip light in every possible rebate turns a kitchen into a display cabinet.
- Accent for art and texture: A directional fitting grazing a brick chimney breast or feature splashback adds depth that flat frontal light erases.
Colour Temperature: Pick One Story and Stick to It
Mixed colour temperatures are the most visible amateur error in finished kitchens: a cool-white downlight beside a warm pendant beside a blue-ish strip reads as chaos.
- 3000K warm white: The safe default for Melbourne homes. Flattering to food, timber and skin, and comfortable in the evening when the kitchen is part of living space.
- 4000K neutral: Crisper and more clinical; some owners prefer it for task strips only. If you mix, keep the rule consistent: 4000K for task, 3000K for ambient and feature, never the reverse.
- 2700K: Lounge-room warmth; lovely in pendants over a dining zone adjoining the kitchen.
- Avoid anything above 5000K: Daylight-rated fittings belong in garages and workshops, not over dinner.
Buy the ambient and task fittings from ranges that publish their colour consistency, and buy spares from the same batch for strips. Two rolls of nominally identical LED strip from different batches can visibly differ once installed side by side.
Switching, Circuits and Smart Control
The switching plan is decided at electrical rough-in, weeks before you can stand in the finished room, which is why it deserves deliberate thought at design stage.
- Minimum four circuits: Ambient downlights, under-cabinet task strip, island pendants, and any feature strip: each on its own switch or dimmer.
- Switch placement follows movement: Main controls at the room entry, a secondary switch for the task strip near the working zone, and two-way switching between the kitchen and the living zone in open plans so nobody crosses a dark room.
- Dimmer compatibility: LED fittings and dimmers must be matched; flicker and buzz come from mismatches. Give the electrician the fitting list before rough-in, not after.
- Smart control, soberly: Smart dimmers and a couple of preset scenes (cook, dine, late) genuinely improve daily life. Full app-dependent ecosystems for a single kitchen are usually complexity without payoff. Wire conventionally so the room still works when the wifi does not.
Sequencing: When Each Lighting Decision Must Be Locked
Lighting fails in renovations mostly through timing, because cables and joinery details are committed early.
- Design stage: Layout of all three layers, pendant positions over the still-hypothetical island, under-cabinet channel details in the joinery drawings.
- Electrical rough-in (week 1-2 on site): Every cable run, switch position, circuit split and ceiling fitting location is committed. Moving a pendant 400mm after plastering is patch-and-paint money; moving it after stone install is misery.
- Joinery installation: Strip channels, drivers and in-cabinet wiring provisions must already exist in the cabinets that arrive.
- Fit-off (final week): Fittings, dimmers and scenes installed and commissioned, with a certificate of electrical safety issued for the new circuits.
The practical rule: choose your actual light fittings before electrical rough-in. A pendant chosen late constrains everything, because its driver, weight and canopy needs were never wired for.
Take these ideas with you.
- Plan three independent layers: task, ambient and feature, each on its own switched and dimmable circuit
- Under-cabinet LED strip with a proper diffuser and CRI 90+ is the highest-value fitting in the kitchen
- Position downlights relative to benches and walkways, roughly 600mm off overhead cabinet faces, not in a ceiling grid
- Keep one colour temperature story, with 3000K warm white the safe Melbourne default
- Lock fitting selections before electrical rough-in, because cable positions and joinery channels are committed weeks before fit-off
A few more answers
Questions about your next step.
How much should I budget for a kitchen renovation in Melbourne?
Budget depends on layout changes, cabinetry level, benchtop choice, appliance scope and trade complexity. Fixed-layout refreshes sit much lower than structural redesigns with new services.
What kitchen upgrades usually add the most practical value?
Better drawer storage, smarter appliance placement, durable benchtops, layered task lighting and a well-sized rangehood tend to outperform cosmetic-only upgrades.
How long does a kitchen renovation usually take?
Most kitchens run over several weeks. Cabinetry manufacturing, stone templating and trade sequencing usually matter more than the demolition day.
Put your ideas into a plan
Turn this cost guide into a real number
A useful quote names layout, services, finish level and exclusions. We measure in the house, then price the room you actually have.
Our kitchen designs include a full lighting plan: circuits, fittings and joinery integration resolved before the electrician ever runs a cable. See what a properly planned kitchen renovation includes.