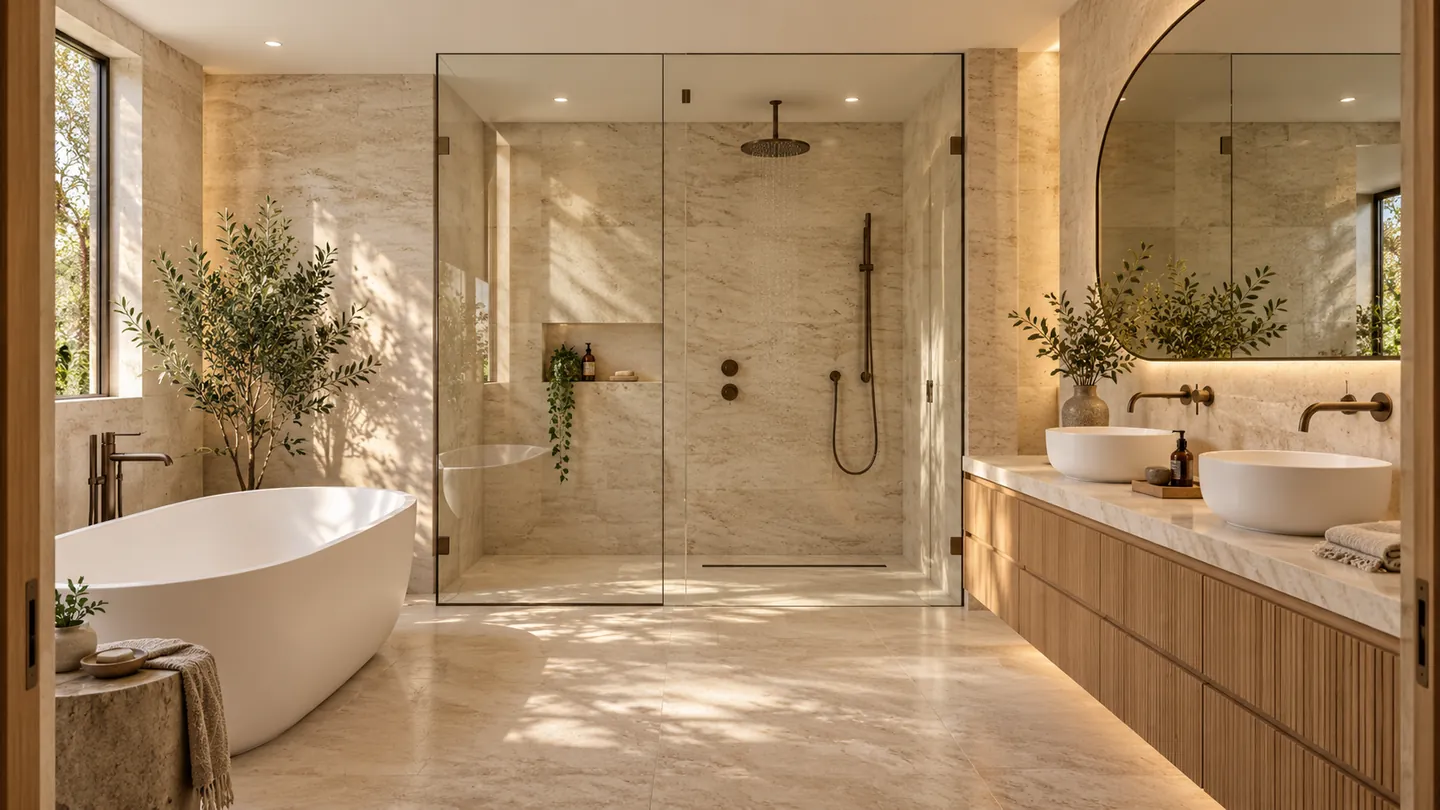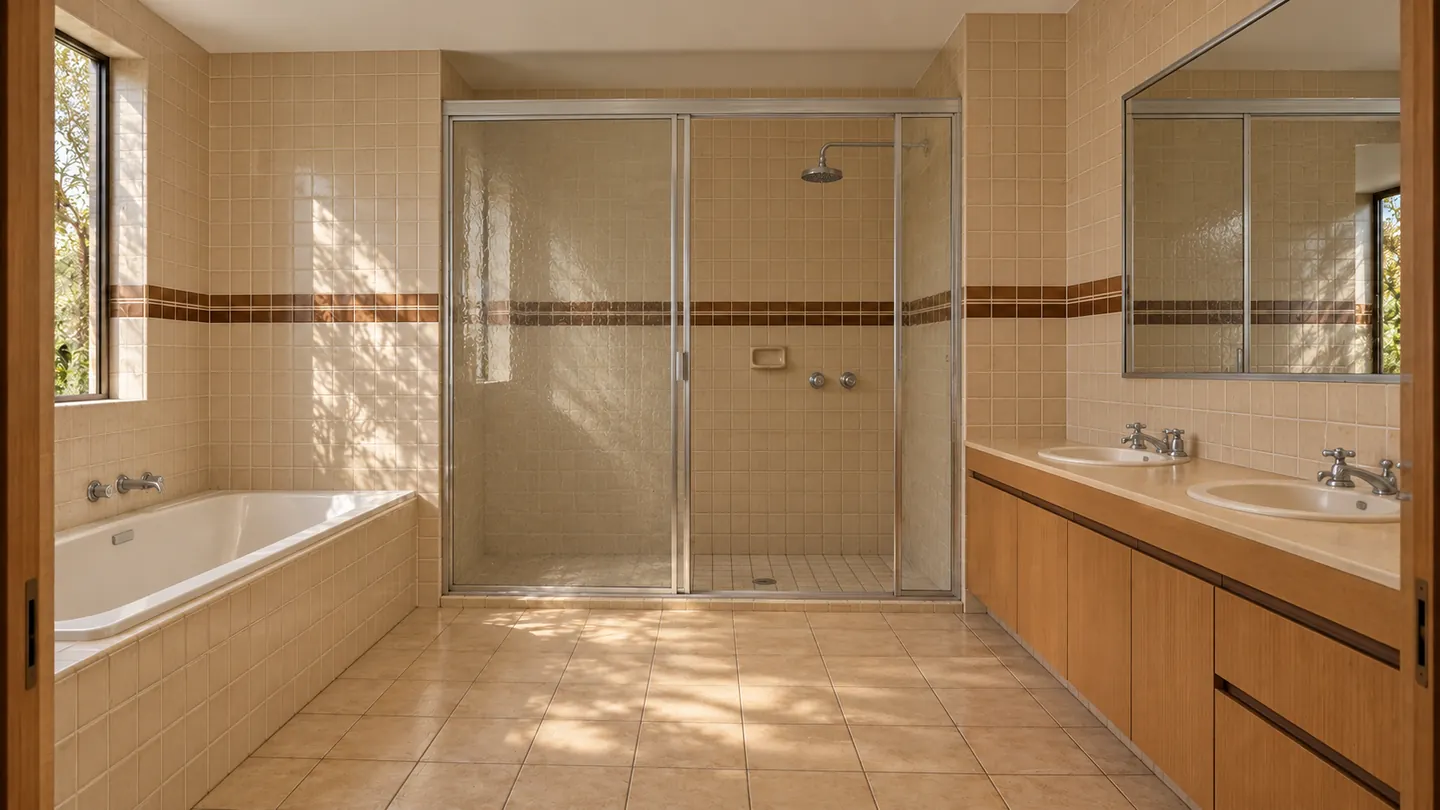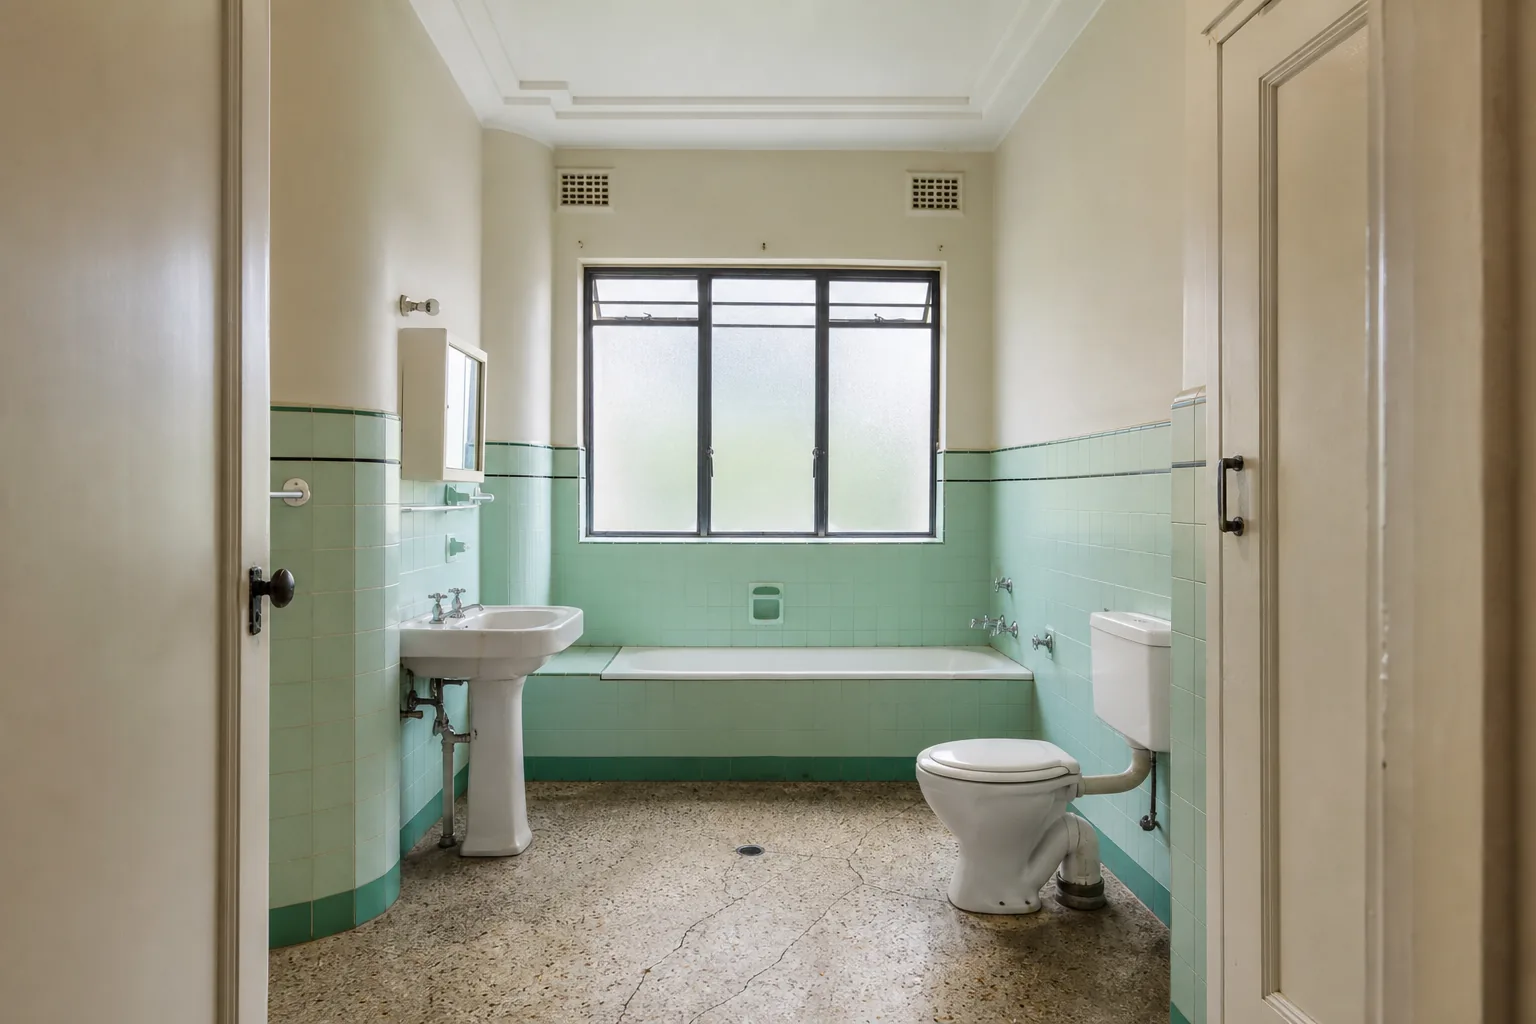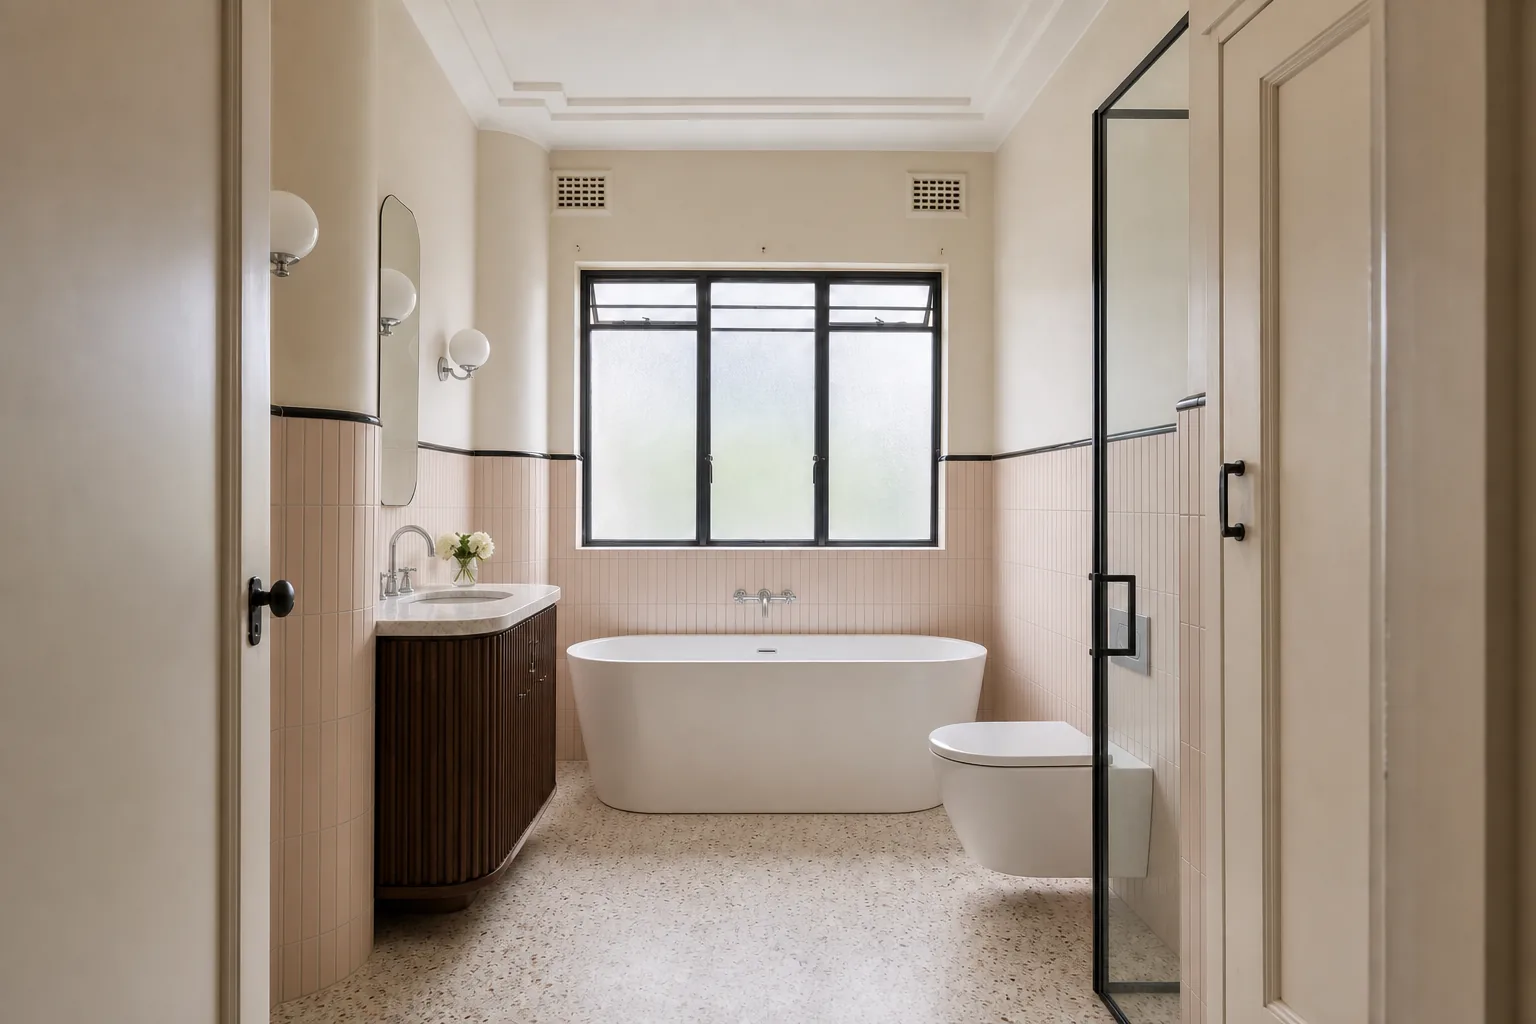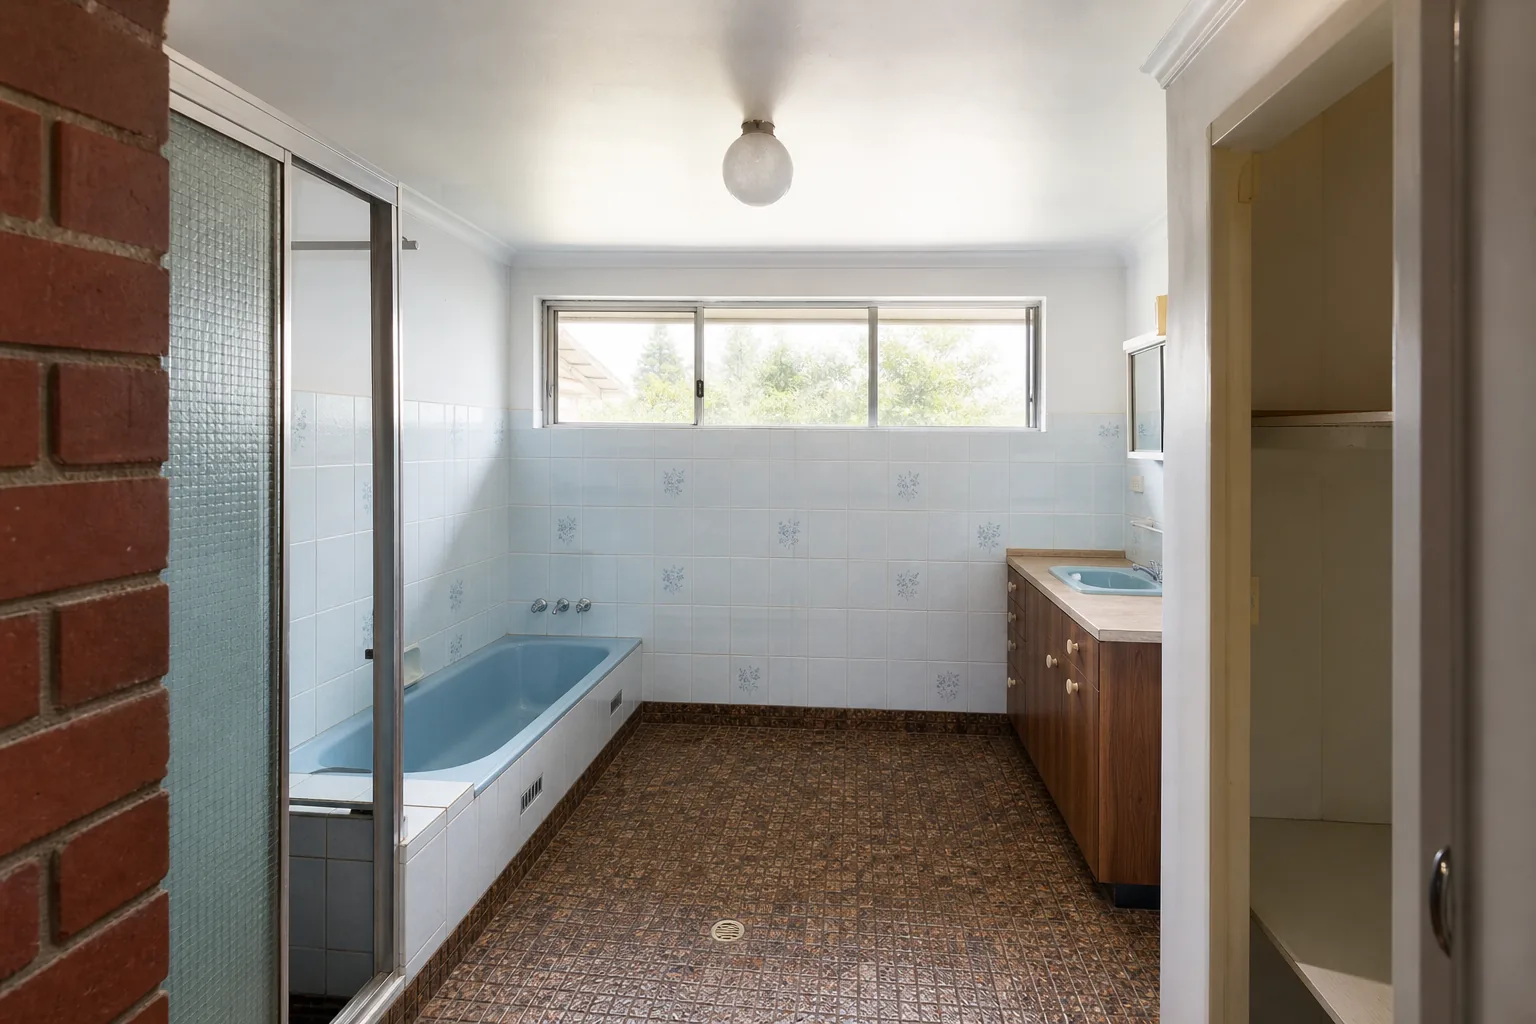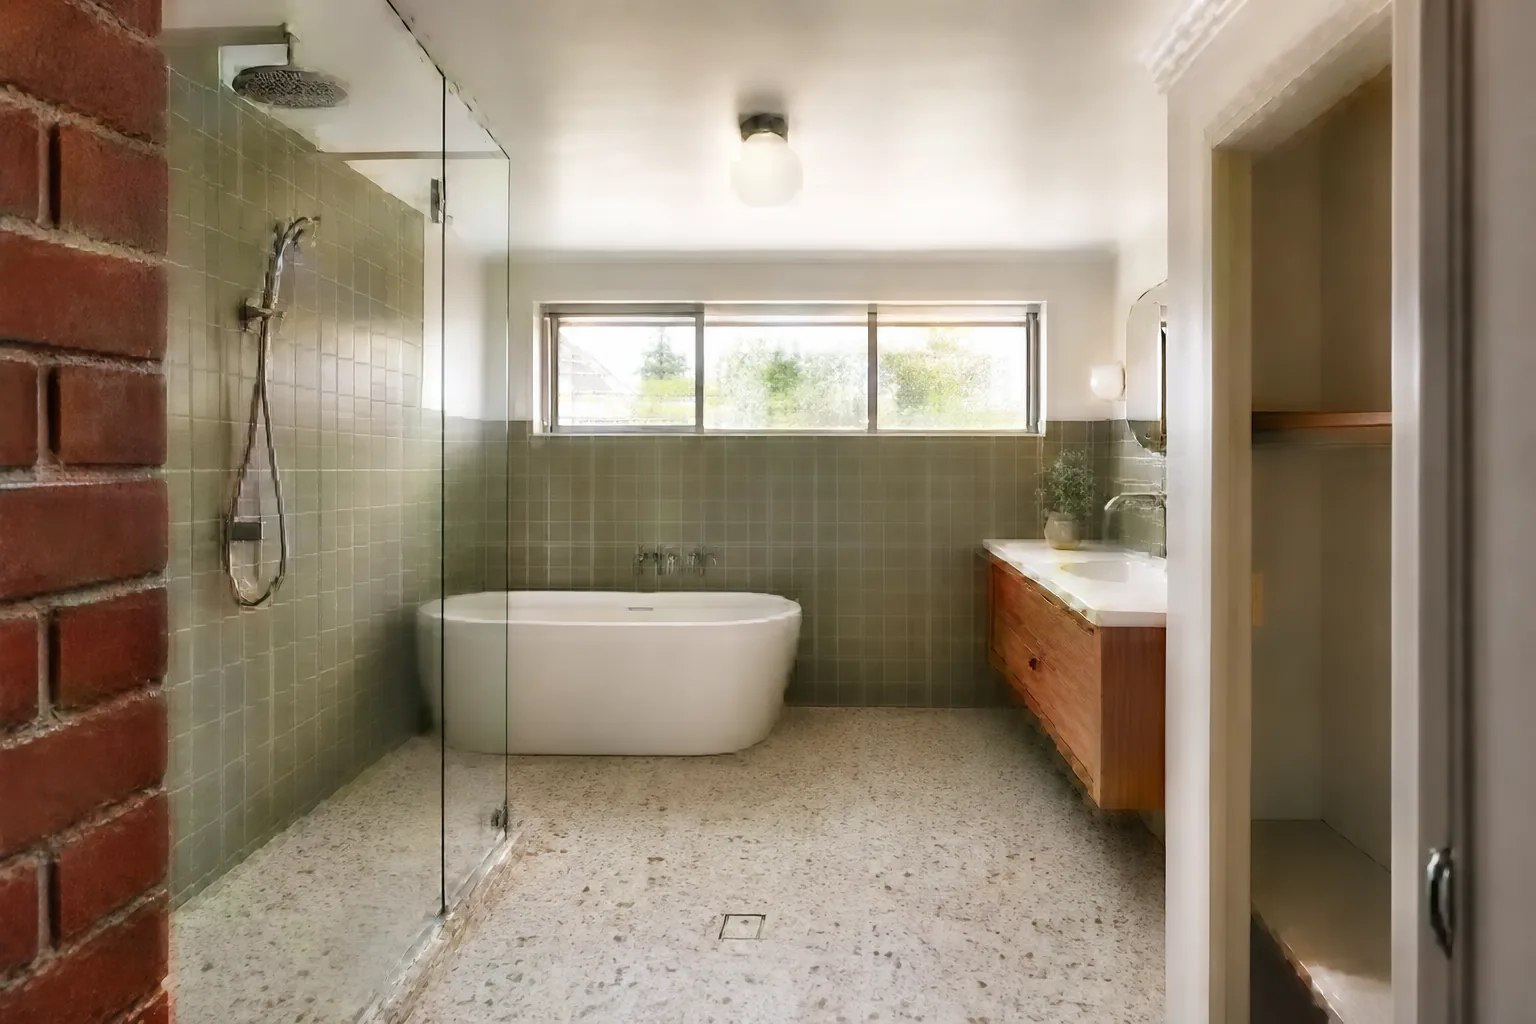
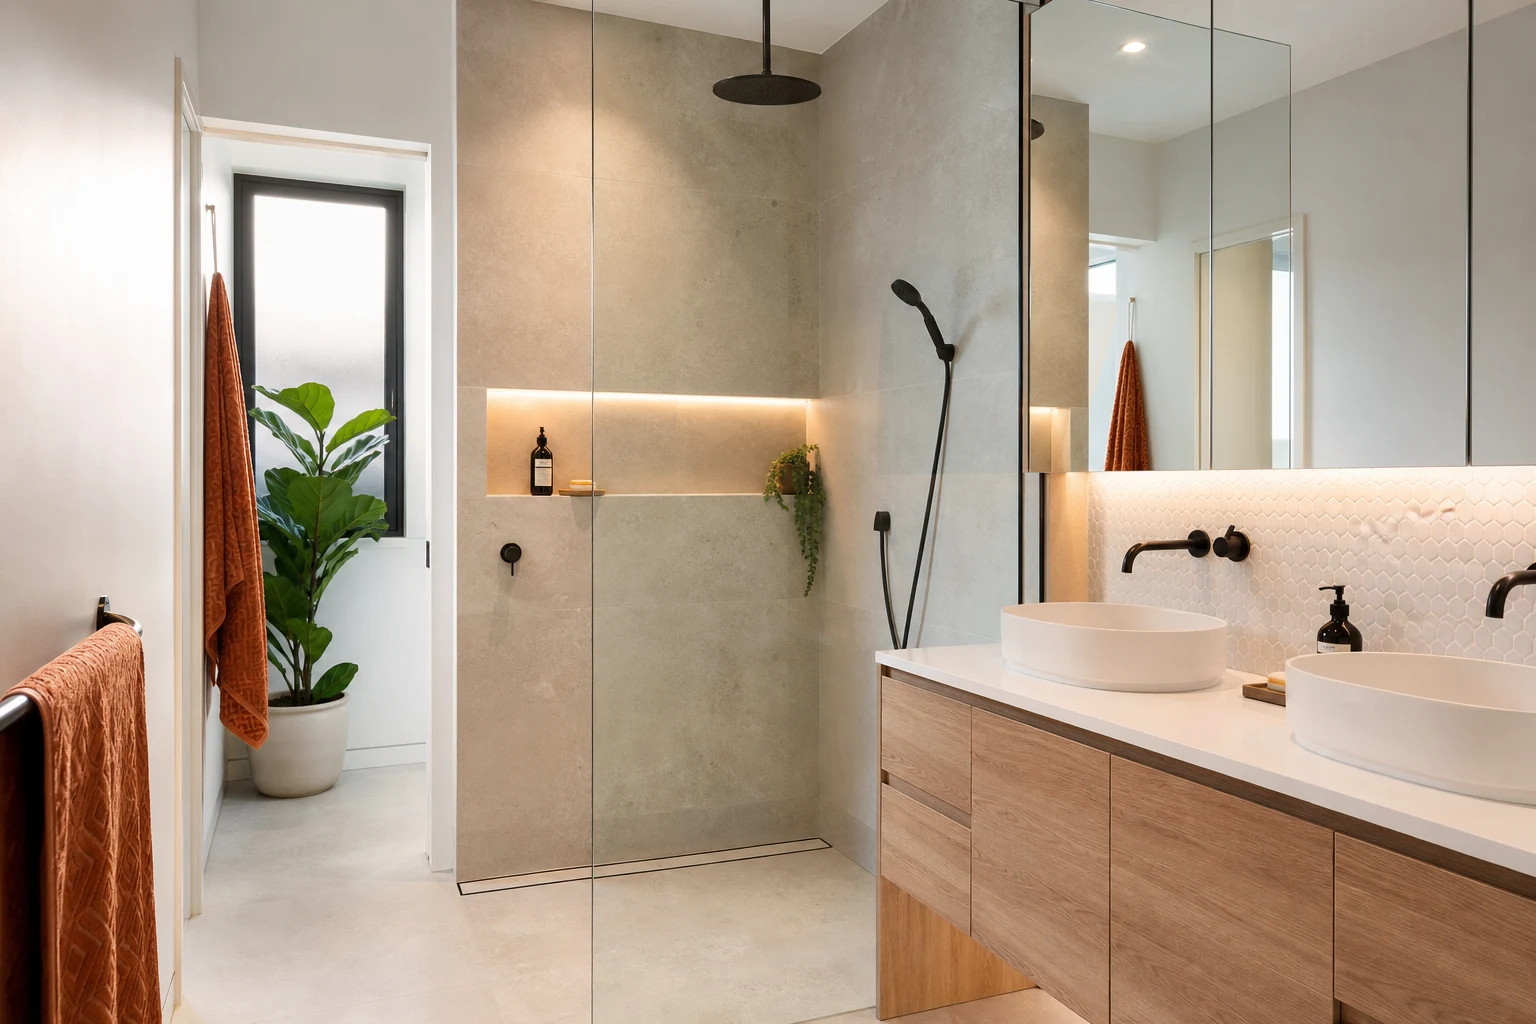
The curbless shower, one continuous floor flowing into the shower zone with no hob and often no step, has become the default request in Melbourne bathroom renovations. It looks effortless, which is exactly the problem: the effortless look depends on millimetre-level planning of floor levels, falls, drainage and waterproofing that has to happen before demolition, not during tiling.
This guide explains what a curbless shower actually requires under the tiles: the set-down or screed depth needed to create falls, the choice between linear and point drains, how the answer differs between slab homes and period homes on stumps, and where the extra cost sits. If you want the look, this is what your builder needs to deliver it without water ending up where it should not.
In this guide
What Curbless Actually Means
A conventional shower contains water with a hob, a raised base or a step-down. A curbless shower contains water with geometry alone: the floor inside the shower zone falls to a drain, the floor outside it falls subtly toward the shower or its own waste, and the transition between them is flush. There is no barrier for water, so the floor itself must do all the work.
That has three consequences. First, falls must be built into the floor structure or screed with real precision, because a flat spot means pooling and a wrong fall means water migrating across the bathroom. Second, drainage capacity has to match the shower output, since there is no hob holding back a slow drain. Third, waterproofing must extend much further than in a hobbed shower, because water at floor level is free to travel.
- The prize: A seamless floor, easier cleaning, no trip edge and genuine accessibility for pram-to-walker stages of life.
- The price: More demolition, more screed work, better drainage and stricter waterproofing.
Falls and Set-Downs: The Numbers Under the Tiles
Wet-area floors are built with defined minimum falls to the waste, and shower floors are graded more steeply than general bathroom floors so water moves positively to the drain. To create that grade and still finish flush with the surrounding floor, the structure under the shower must sit lower than the rest of the room.
- On concrete slabs: The ideal is a recessed set-down formed in the slab. In renovations without one, the options are grinding or cutting the slab locally, or building the whole bathroom floor up with screed so the shower zone can fall within it. Raising the room floor then creates a threshold at the door that must be managed.
- On timber subfloors: Common in Melbourne period homes, the floor structure between joists can often be dropped or re-sheeted with a proprietary set-down system, which frequently makes curbless easier to achieve than in a slab retrofit.
- Typical depths: Achieving proper falls usually needs 20mm to 40mm of level change across the shower zone depending on its size and drain position, which is why this cannot be improvised in the screed on tiling day.
This is the stage where a curbless shower is won or lost, and it is decided at demolition and rough-in, weeks before any tile appears.
Linear vs Point Drainage
Drain choice shapes both the look of the floor and the complexity of the screed work, because it determines how the falls are formed.
| Drain Type | Typical Supplied Cost | Strengths | Considerations |
|---|---|---|---|
| Linear drain at the wall | $300-$900+ | Single-direction fall, large tiles stay uncut, cleanest look, high flow capacity | Waste position must be planned early; premium grate finishes add cost |
| Linear drain at the entry | $300-$900+ | Catches water before it leaves the zone, good for wide openings | Sits in the traffic path; grate choice matters underfoot |
| Centre point waste | $80-$250 | Cheapest, familiar to every trade, uses existing waste position more often | Needs four-way falls, so large tiles must be diagonally cut or replaced with mosaics |
Linear drains have become the standard partner for curbless designs because a single plane falling one way suits large-format tiles, and the drain itself reads as a design feature. The main discipline is flow rate: check the drain's stated capacity against your shower outlets, especially with twin showers or high-flow rain heads.
Waterproofing: Bigger Membrane, Stricter Detail
Australian wet-area waterproofing standards treat an enclosed hobbed shower and an unenclosed curbless zone very differently. Without a hob or screen containing water, the waterproofed area must extend further across the floor and up the walls, and in practice most builders doing curbless work in Victoria waterproof the entire bathroom floor as a tanked vessel, turning the membrane up at every wall.
- Membrane extents: Larger unenclosed showers pull the required waterproofed radius well beyond the shower zone itself.
- Junctions and penetrations: The drain flange, wall junctions and door threshold are the critical details, and each has a right way that takes time.
- Documentation: Waterproofing in Victoria should come with a certificate and photo records before tiling covers the work. Ask for both.
This is not a place for the cheapest quote. A failed membrane under a curbless floor means stripping the entire room, because the whole floor is the shower base. The few hundred dollars saved on waterproofing is the most expensive saving in renovating.
Slab Homes vs Period Homes on Stumps
Melbourne housing splits broadly into post-1970s homes on concrete slabs and earlier homes on stumps with timber floors, and the curbless conversation differs between them.
On slab, the question is whether floor levels allow a set-down. Ground-floor bathrooms in brick veneer homes across suburbs like Glen Waverley or Werribee often require slab grinding or a built-up floor, both of which are workable but must be priced from the start. Upstairs bathrooms on particleboard or in apartments bring body-corporate and structural constraints that need early advice.
Period homes in Brunswick, Thornbury or Yarraville with timber subfloors are often better candidates than owners expect: joists allow the shower zone structure to be lowered, plumbing runs freely below, and waste positions can move without jackhammers. The trade-off is that old subfloors frequently need rectification once opened, so contingency belongs in the budget. Either way, the feasibility answer comes from an inspection of your actual floor structure, not from a picture of the finished look.
Screens, Openings and Keeping Water In
Curbless does not have to mean fully open. Most successful curbless bathrooms still use a fixed glass panel to control spray, because geometry alone cannot stop a shoulder-height shower jet travelling horizontally.
- Fixed panel: The standard partner: one frameless pane, no door, no hob. Water control with a clean look.
- Full enclosure with flush floor: Doors on a curbless floor need careful seal detailing but give maximum containment for smaller zones.
- Fully open wet zones: Achievable and striking, but they demand generous shower dimensions, ideally 1200mm or more of depth, correctly aimed outlets and honest acceptance that some floor beyond the zone will get damp.
Ventilation also works harder in open designs because steam is not contained; pair a curbless bathroom with a properly ducted, correctly sized exhaust fan. And underfoot, choose floor tiles with a genuine wet slip rating, since the whole floor is now potentially a wet floor.
What Curbless Adds to the Budget
Compared with a hobbed or shower-base equivalent, a curbless design typically adds between $1,500 and $5,000 to a Melbourne bathroom renovation. The spread depends on the floor structure: a timber subfloor with easy access sits at the low end, while a slab requiring cutting, grinding or a full built-up floor sits at the high end. The linear drain, larger waterproofing extent and extra screed labour are consistent contributors regardless of structure.
Against that, curbless delivers value that outlasts trends: it is the most future-proof shower format for ageing in place, it removes the most commonly tripped-over edge in the house, and it is the detail that makes a renovated bathroom feel genuinely architectural rather than refreshed. If the budget forces a choice, we would rather see a client spend on the curbless floor structure and simplify the tapware than the reverse, because tapware can be upgraded later and the floor cannot.
Take these ideas with you.
- A curbless shower is built at demolition and rough-in, because falls need 20-40mm of set-down that cannot be improvised at tiling
- Linear drains suit curbless designs best since a single-direction fall works with large-format tiles
- Waterproofing extents increase significantly without a hob, and most good builders tank the entire floor
- Timber-subfloor period homes are often easier curbless candidates than slab homes, which may need cutting or built-up floors
- Expect roughly $1,500-$5,000 over a standard shower, and prioritise the floor structure over upgradeable fittings
A few more answers
Questions about your next step.
What matters most in a small bathroom layout?
Clearances, door swing, shower placement and vanity depth matter more than decorative choices. Simplify the layout before adding premium finishes.
Which bathroom materials are easiest to maintain?
Low-porosity surfaces, practical grout, well-detailed shower screens and real ventilation reduce cleaning load and mould risk.
How long does a full bathroom renovation normally take?
Bathrooms are tightly sequenced, but waterproofing cure times, tiling and fixture lead times still make them multi-stage projects.
Put your ideas into a plan
Turn this cost guide into a real number
A useful quote names layout, services, finish level and exclusions. We measure in the house, then price the room you actually have.
Want a curbless shower done properly, from set-down to certificate? We plan the floor before we promise the look. Explore our bathroom renovations.